Set up Verifone P400
Note
This reader is no longer available for purchase. If you’re getting started with Stripe Terminal, we recommend viewing our current reader offerings.
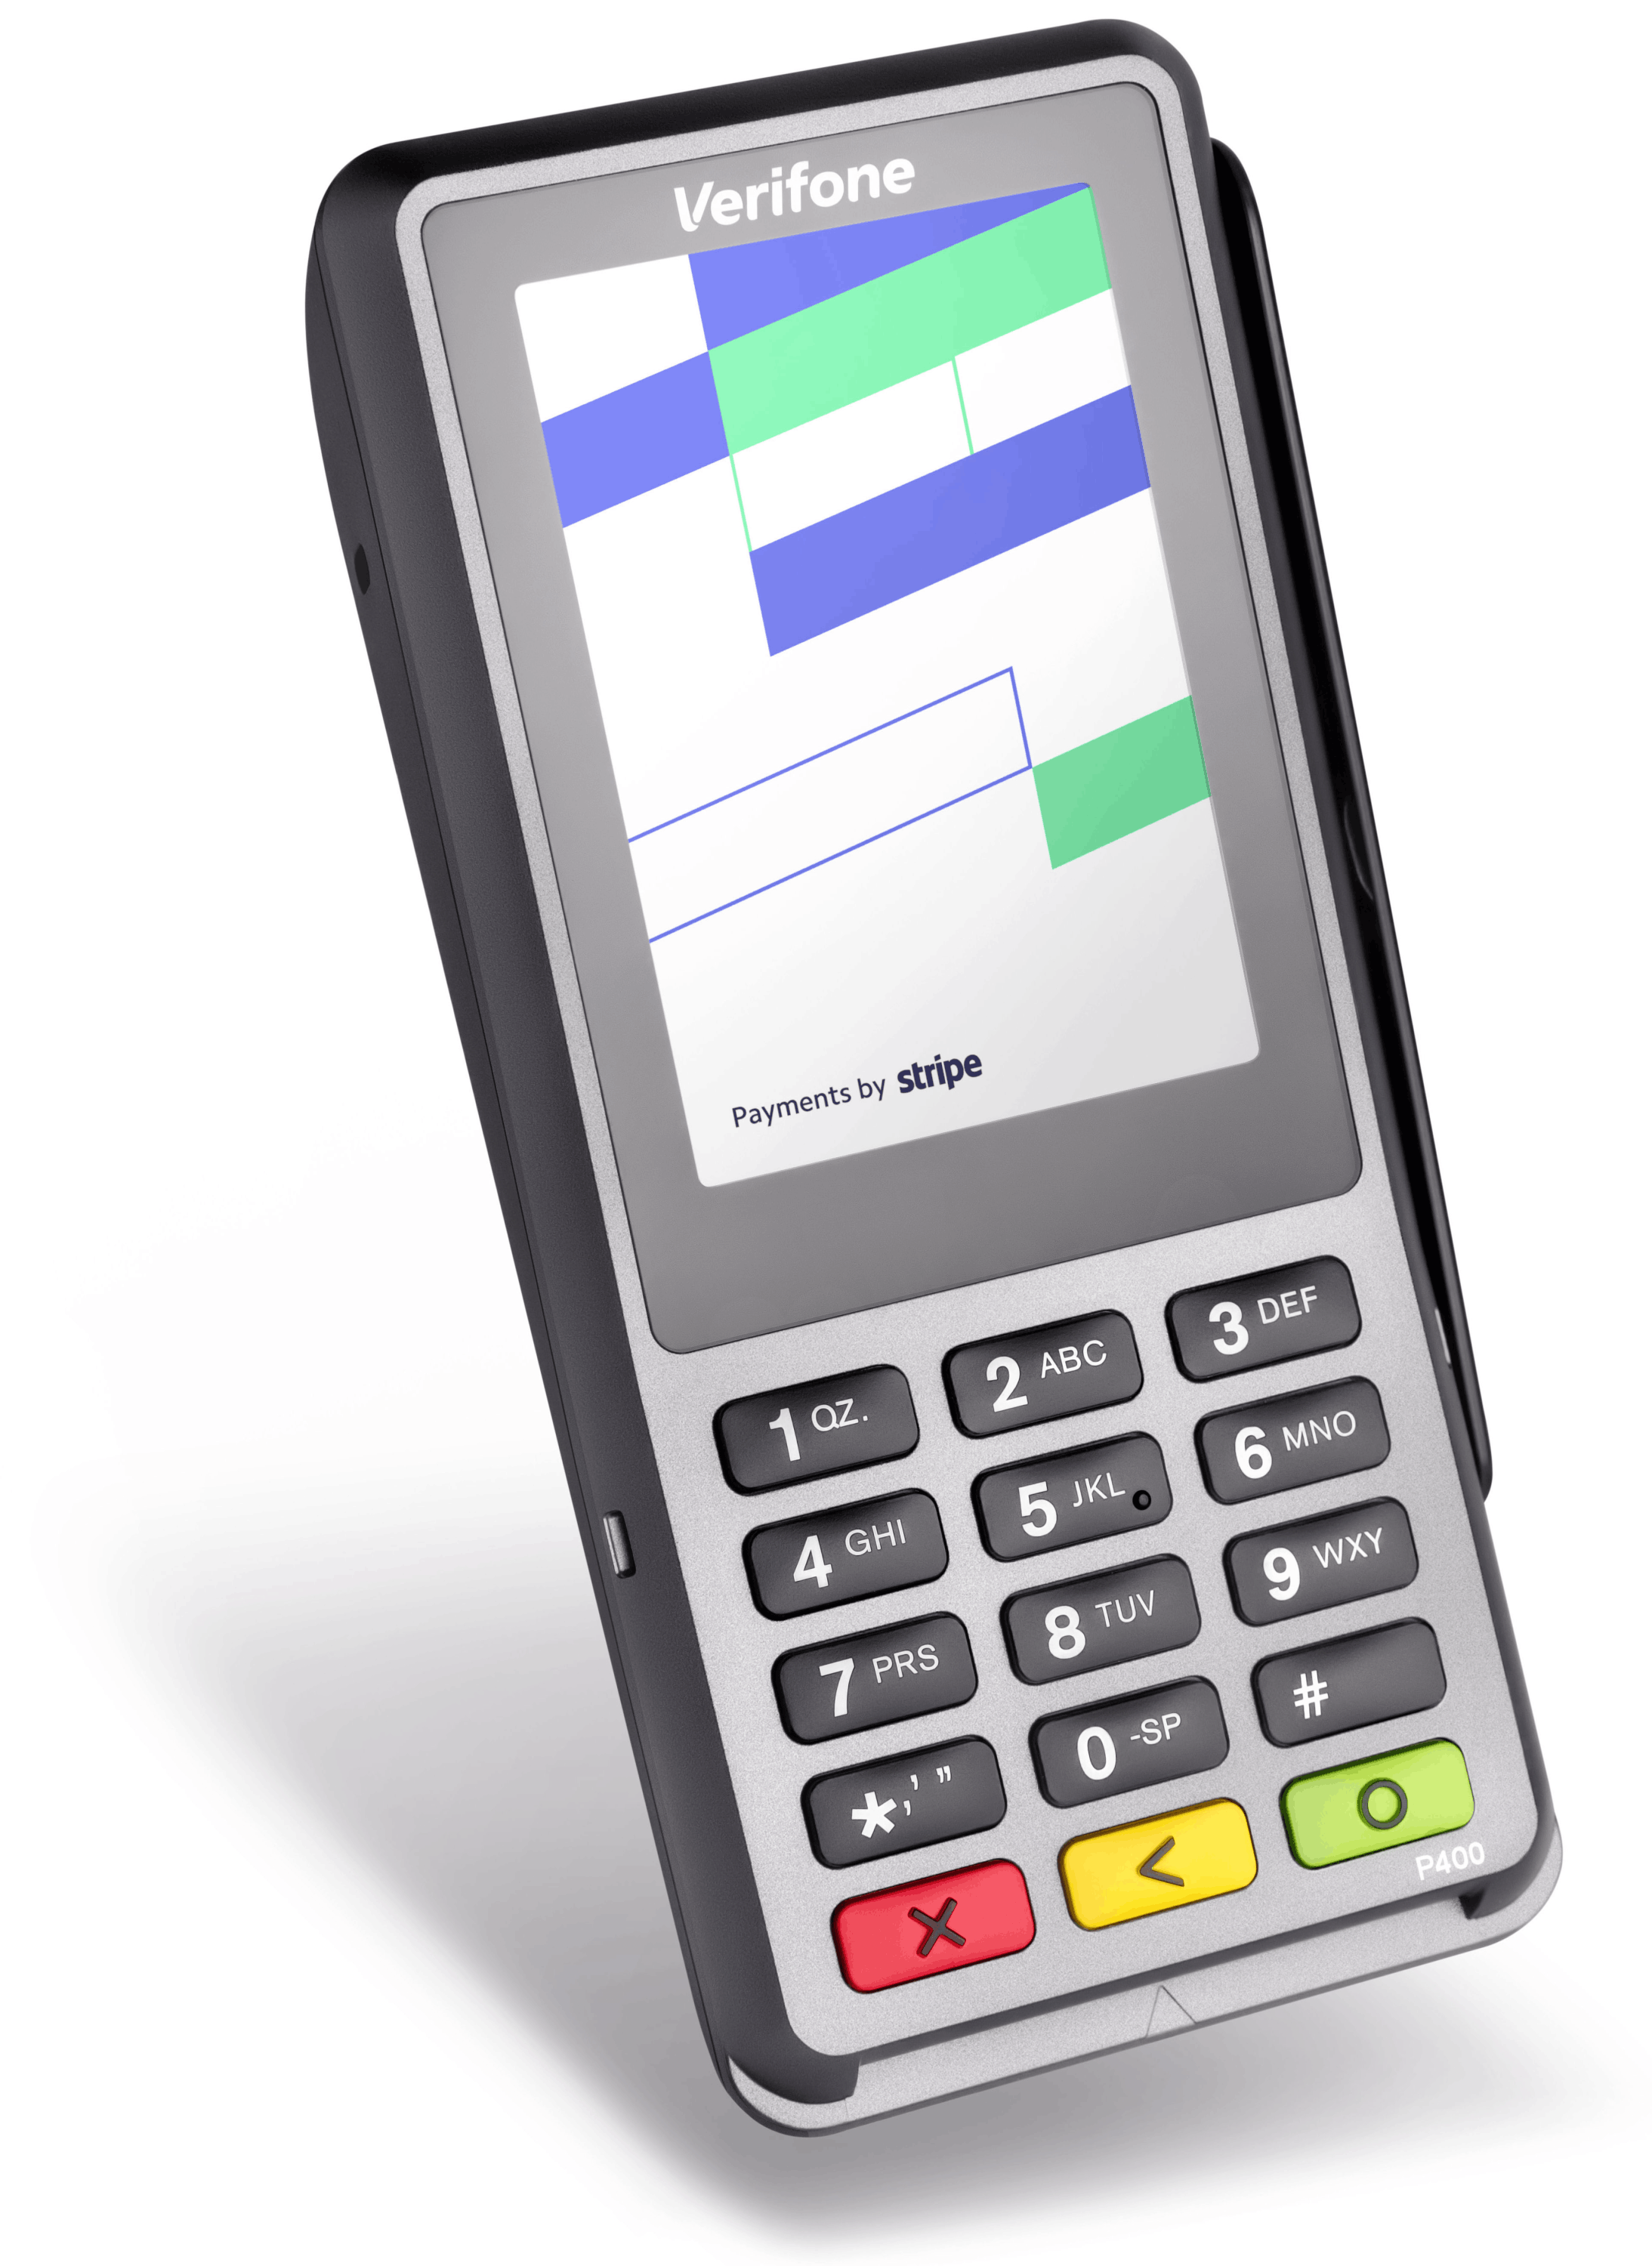
The Verifone P400 is a countertop reader for Stripe Terminal apps. It connects to the Stripe Terminal SDK over the internet.
This reader is compatible with JavaScript, iOS, Android, and React Native SDKs. To view the reader’s parts and features, see the product sheet.
Turn the reader on and off 
To turn on the Verifone P400, securely plug the P400 connector cable into the port on the bottom of the reader. The cover slides over the port to hold the cable in place. Plug the power adapter into the connector cable and into a power outlet.
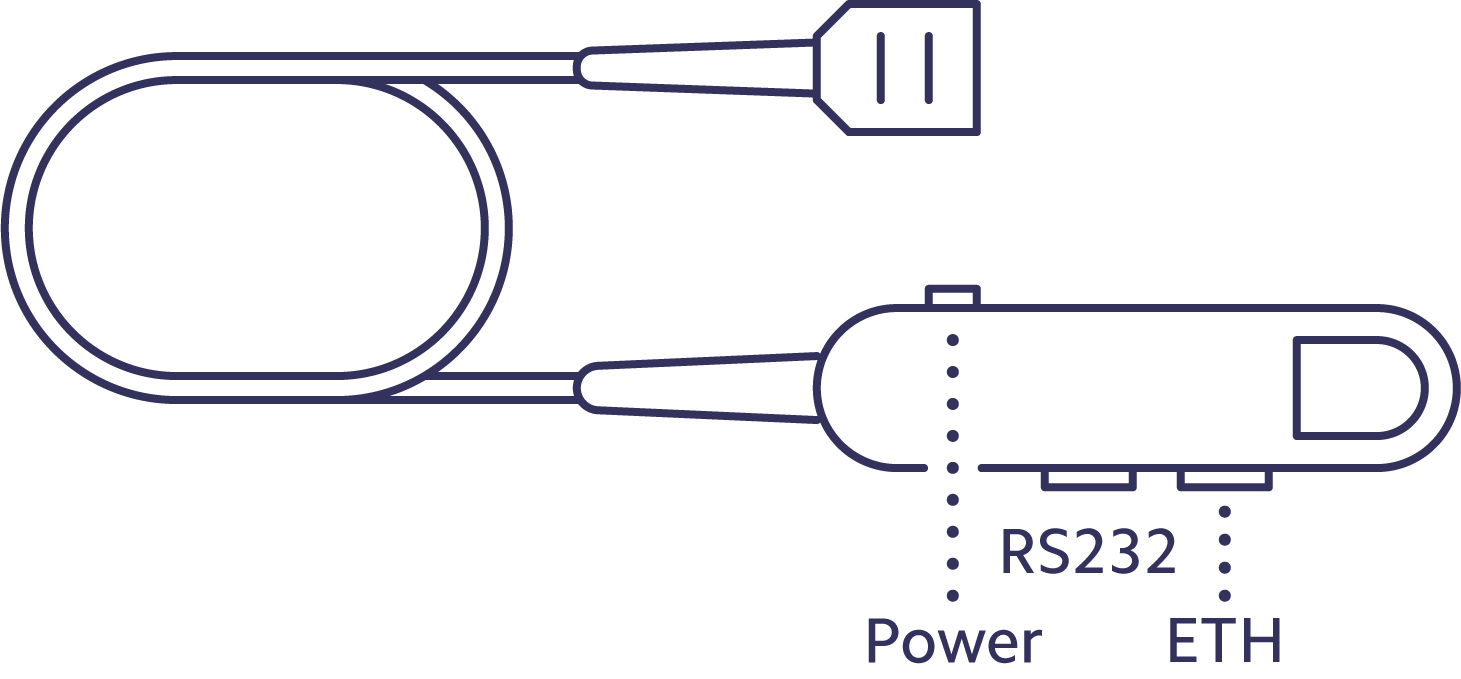
Verifone P400 connector cable
The Verifone P400 automatically turns on when connected to power. In a countertop deployment, leaving the device on for extended periods is expected. If you need to turn the reader off, remove the power source.
Note
Even when it’s not in use, leave the Verifone P400 plugged in to receive automatic software updates.
Connect the reader to the internet
Because the Verifone P400 is a smart reader, its reader software communicates directly with Stripe, managing connectivity through a LAN. The reader must connect to the same local network as your application. If you’re running into issues connecting your reader to the internet follow the troubleshooting steps to diagnose the issue.
WiFi Beta
If you’re setting up a new device, follow the on-screen prompts to connect to the internet using WiFi. To start over, press the red X button on the keypad.
To switch networks, or connect an already online reader to a WiFi network, press 0WIFI (0-9-4-3-4) on the keypad and follow the prompts. Attempting to join a new network disconnects the reader from any existing wireless connection. There’s no fallback to the previously connected network.
Your WiFi network must use WPA-Personal or WPA2-Personal encryption and be password protected. WiFi isn’t supported for non-password-protected networks or enterprise networks.
Caution
Connecting over WiFi is a beta feature. For production use, have an Ethernet connection ready as a backup, in case of degraded networks or connectivity issues.
Key mapping
To access characters from the keypad, use this multi-tap key mapping scheme. The table shows which characters each key maps to, in the order they’ll appear.
| Keypad Number | Characters | Keypad Number | Characters |
|---|---|---|---|
| 0 | 0-+=_!?@$%^&/\()[]{}<>~| | 6 | 6mnoMNO |
| 1 | 1qz.QZ | 7 | 7prsPRS |
| 2 | 2abcABC | 8 | 8tuvTUV |
| 3 | 3defDEF | 9 | 9wxyWXY |
| 4 | 4ghiGHI | * | *,’␣”`:; |
| 5 | 5jklJKL | # | # |
For example, if your network password is Stripe, enter 7-7-7-7-7-7-7-8-8-7-7-7-4-4-4-4-7-7-3-3-3.
Ethernet
Connect an Ethernet cable from your router to the Verifone P400, using the ETH port (not the RS232 port).

Connecting Ethernet cable to Ethernet port
The reader obtains an IP address using DHCP. As soon as the network cable is plugged in, the reader attempts to establish communication with Stripe.
Network priority
The Verifone P400 resets its priority to Ethernet when rebooting. Even if previously configured for WiFi, the reader switches to Ethernet if it detects an Ethernet cable connection while starting up.
If you connect to WiFi while an Ethernet cable is connected, the reader switches to the WiFi connection. If the reader fails to connect to WiFi on the first attempt, it falls back to Ethernet connection. Otherwise, the reader continues to prioritize WiFi until rebooted.
Reader screens
The reader has a few screens to indicate its connectivity state. The default splash screen indicates that the reader is connected to Stripe and ready for processing.
You can customize the reader’s default splash screen by setting up locations.
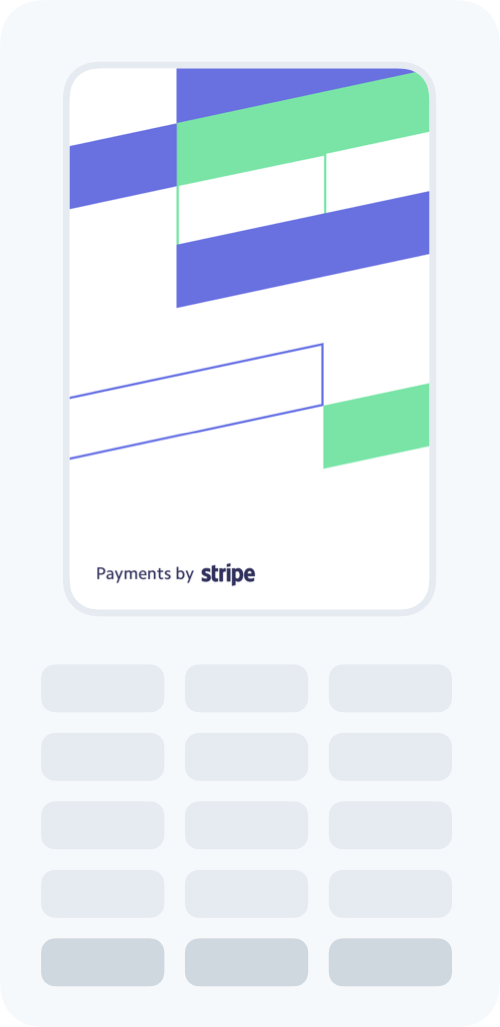
Default splash screen
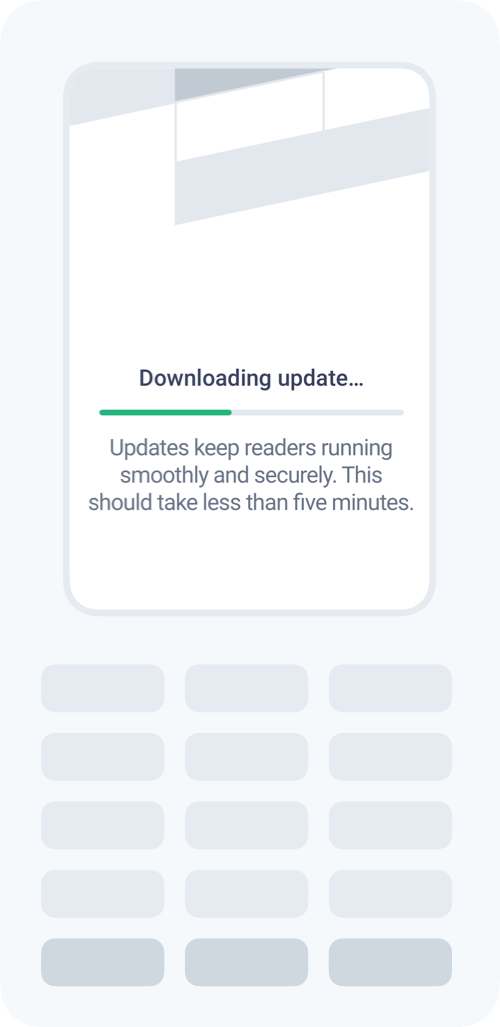
Downloading update screen
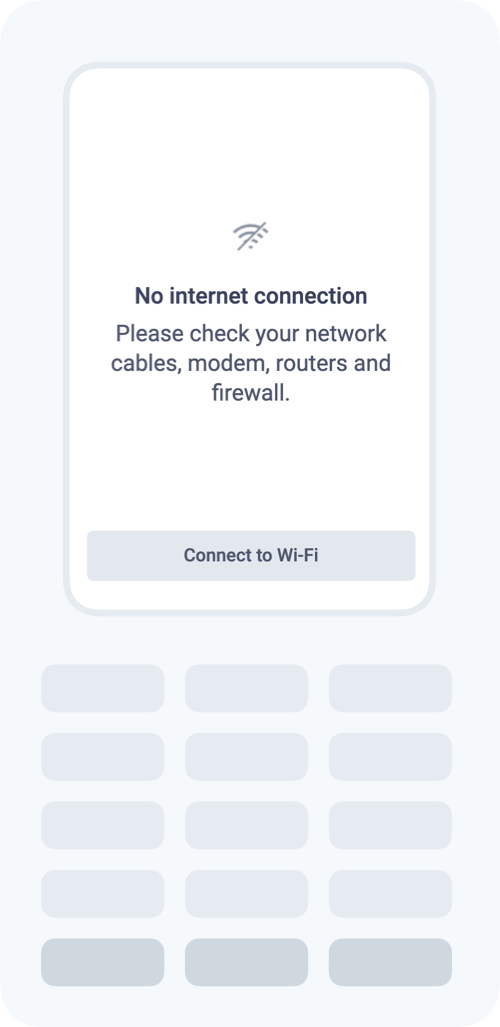
Not connected screen
Default reader language
The Verifone P400 interface displays text in both English and the language of the region the reader is registered in.