File your 1099 tax forms
Before you can file your 1099 tax forms, you must ensure they’re complete and accurate.
Getting your 1099 Forms
If you work for or use a platform that pays you through Stripe and want to learn about your 1099 forms and how to retrieve them, see 1099 tax forms.
Obtain “Ready” status
Stripe categorizes your tax forms as follows:
Stripe automatically identifies forms if they exceed the IRS or state filing thresholds as Ready or Needs attention:
You must obtain a Ready status before you can file your tax forms.
Forms in Needs attention status might be missing the name, taxpayer identification number (TIN), or part of the address. You can provide missing information by updating the connected account or updating the tax form.
Forms with federal filing status or state filing status of Will not file are below either the IRS or State thresholds. When a form doesn’t meet the threshold set at the federal or state level it’s not filed with that respective tax authority. You can file tax forms that are below the threshold or are incomplete by specifying filing requirements in a CSV import. You can also use filing requirements to omit a tax form from filing.
“Ready” or “Needs Attention” forms that appear to be below threshold
Some forms with totals that might seem below the federal threshold can also show up as Ready or Needs Attention for two reasons:
- Grouped TIN
- The state threshold is lower than the IRS threshold
Grouped TIN
Per IRS regulations, when multiple forms share the same Tax Identification Number (TIN), Stripe calculates each form’s filing eligibility based on the aggregate total of all those forms. As a result, an individual form that appears to be below the IRS threshold can still require filing because the total amount of all forms sharing its TIN exceeds the threshold.
When Stripe calculates the aggregate total of forms that share the same TIN, it includes a maximum of 100 forms. If you have more than 100 forms that share the same TIN, manually verify their filing eligibility.
Stripe files each form separately, regardless of whether it shares a TIN with other forms.
If an account is grouped, you will see this in the Dashboard:

To determine which forms share the same TIN, enter the ID of the form in the Forms grouped with filter and apply the filter.
The state threshold is lower than the IRS threshold
Another reason why a form might appear as Ready or Needs attention for the IRS is that the form needs to be filed to a state that is part of the Combined Federal and State Filing (CFSF) program. For CFSF states, forms filed to the IRS are automatically forwarded to the appropriate state, eliminating the need to file separately to the state. Check the 1099 form requirements by state section to determine which states are part of the CFSF program and have lower state filing thresholds than the IRS.
Confirm tax form settings
Confirm the accuracy of your payer information and tax form settings before filing. You’ll reconfirm some tax form settings in the filing process, but you should also confirm the tax form settings before filing.
File your tax forms
When you’re ready to file, perform one final check of the forms that are in a Ready state. Clicking the File button automatically pulls forms in a Ready state (or Ready! If you applied filing requirements) into the filing process.
If needed, you can complete the filing process more than once and file forms in batches as they become Ready. The forms for the IRS and the States will be filed at the same time. Currently, there’s no option to file forms with the IRS and States separately.
Caution
If you have forms in a Needs Attention state and wish to file them as they are, you can override the form status by explicitly updating the filing requirement.
From the Tax reporting view in the Dashboard, click the File button to begin the filing process.
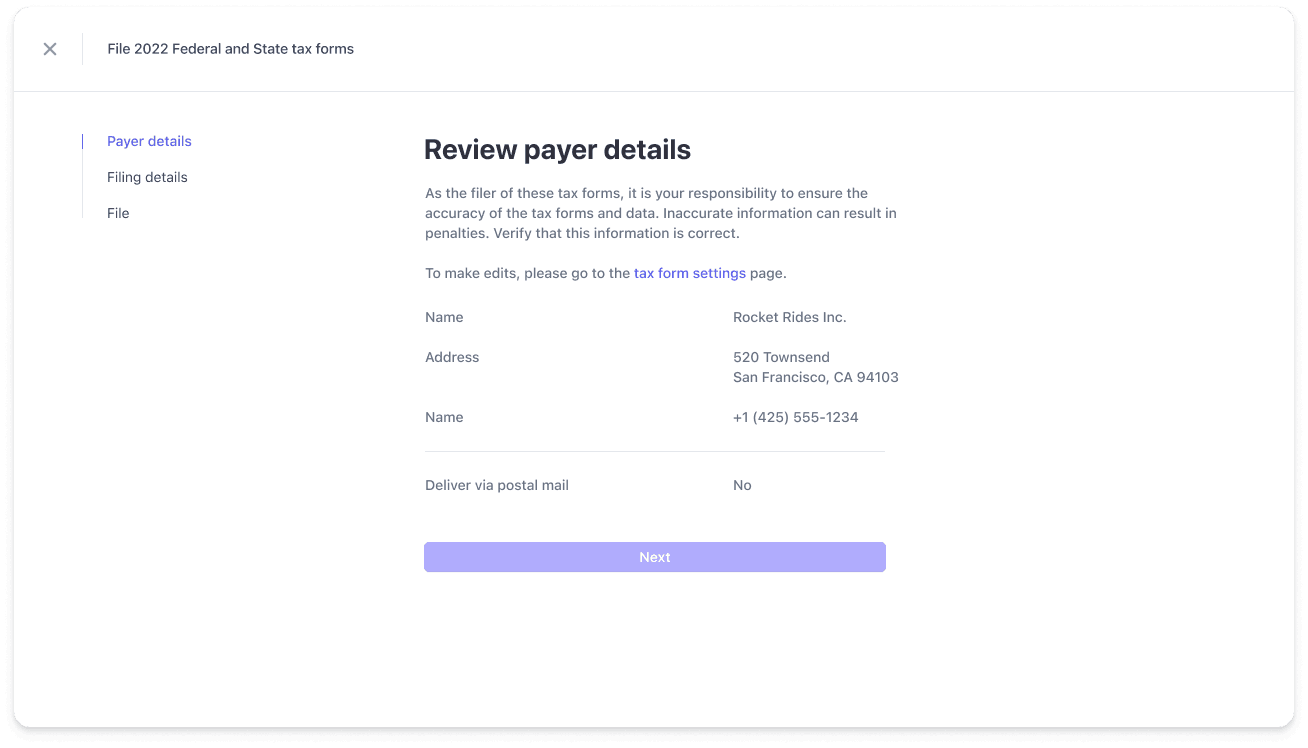
Confirm your payer information. To change any payer information, close the filing process and go to your tax form settings. If you file forms with incorrect payer information, the IRS requires you to mail a letter with the corrections.
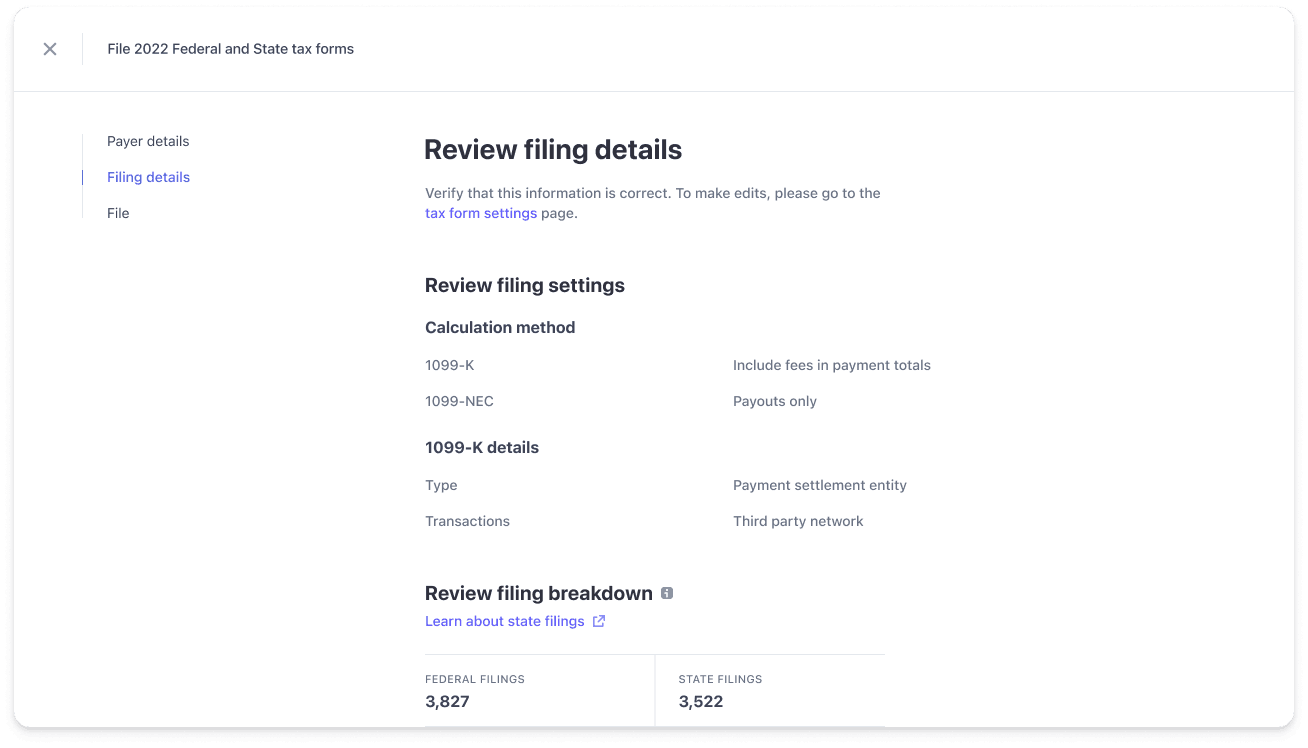
Next, confirm the settings for specific tax form types. To change the settings, close the filing process and go to your tax form settings.
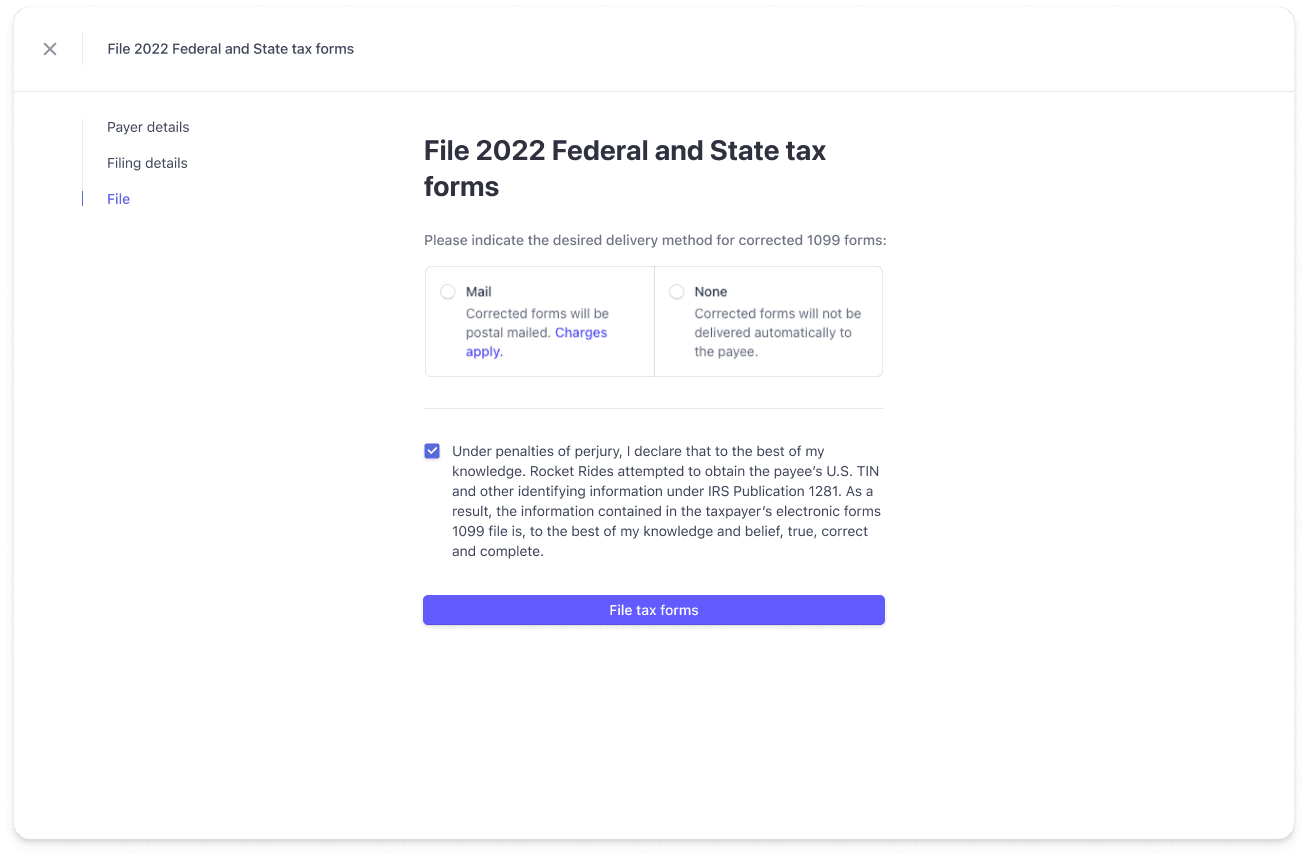
Finally, accept a standard IRS penalty of perjury statement. Click the File tax forms button to queue your tax forms for automatic filing with the IRS.
If you aren’t filing any 1099 tax form corrections, you can disregard delivery preferences for form corrections. Choose either Mail or None and proceed with filing your forms. Tax forms will be delivered according to your delivery settings.
Accept an IRS penalty of perjury statement
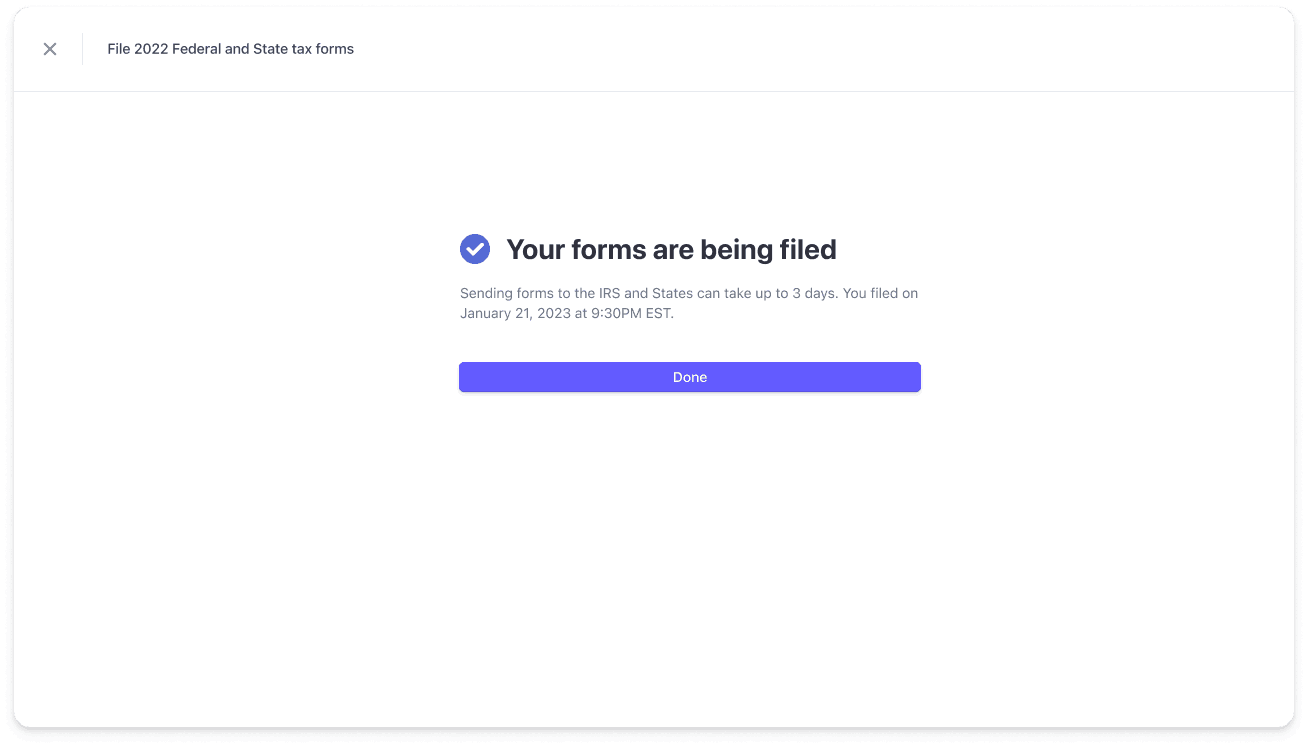
After you click File tax forms, a Success message displays.
After filing your 1099 tax forms
After you submit your filing request, Stripe collects and transmits your forms to the IRS and applicable state reporting agencies, and delivers forms to your connected accounts based on your delivery settings.
If you’ve enabled e-delivery, Stripe immediately emails your connected accounts so they can access forms in the Stripe Express Dashboard. For postal delivery, USPS first class mail can take up to 10 business days.
If you need to file a form with both the IRS and the state, the form is sent only one time to the connected account user. For more information, see Deliver tax forms.
Understand tax form status
To help you determine if you need to take action on any forms, the status of filed tax forms updates automatically.
Federal Filing Status:
The IRS typically gets back to us within 5 business days. At that point, you should expect to see the Federal Filing Status change from Filed to either Accepted or Rejected.
State filing Status:
States have varied timelines for submission results. In most cases, state filings take about 7-14 days for State filing status to move from Filed to Accepted or Rejected.
Note
The Rejected status implies that the form was either rejected by the State after submission, or that the State refused to accept the information during submission.
Delivery status
For electronic delivery, the delivery status changes to Delivered a few minutes after the email is delivered.
For postal mail, the delivery status changes to Delivered after Stripe’s postal delivery partner confirms that the mailing is delivered. That can take several days.
A delivery status of Failed means that an issue prevented the mailing from being completed. This typically occurs when the mailing address on file contains errors.