Collect payments
Note
For BBPOS WisePOS E and Stripe Reader S700, we recommend this integration, which uses the Stripe API instead of a Terminal SDK to collect payments.
Collecting payments with Stripe Terminal requires writing a payment flow in your application. Use the Stripe Terminal SDK to create and update a PaymentIntent, an object representing a single payment session.
While the core concepts are similar to SDK-based integrations, you follow slightly different steps with the server-driven integration:
In Step 1, you can define whether to automatically or manually capture your payments. Authorization on the customer’s card takes place in Step 2, when the reader processes the payment.
Create a PaymentIntent
The first step in collecting payments is to start the payment flow. When a customer begins checking out, your backend must create a PaymentIntent object that represents a new payment session on Stripe. With the server-driven integration, you create the PaymentIntent server-side.
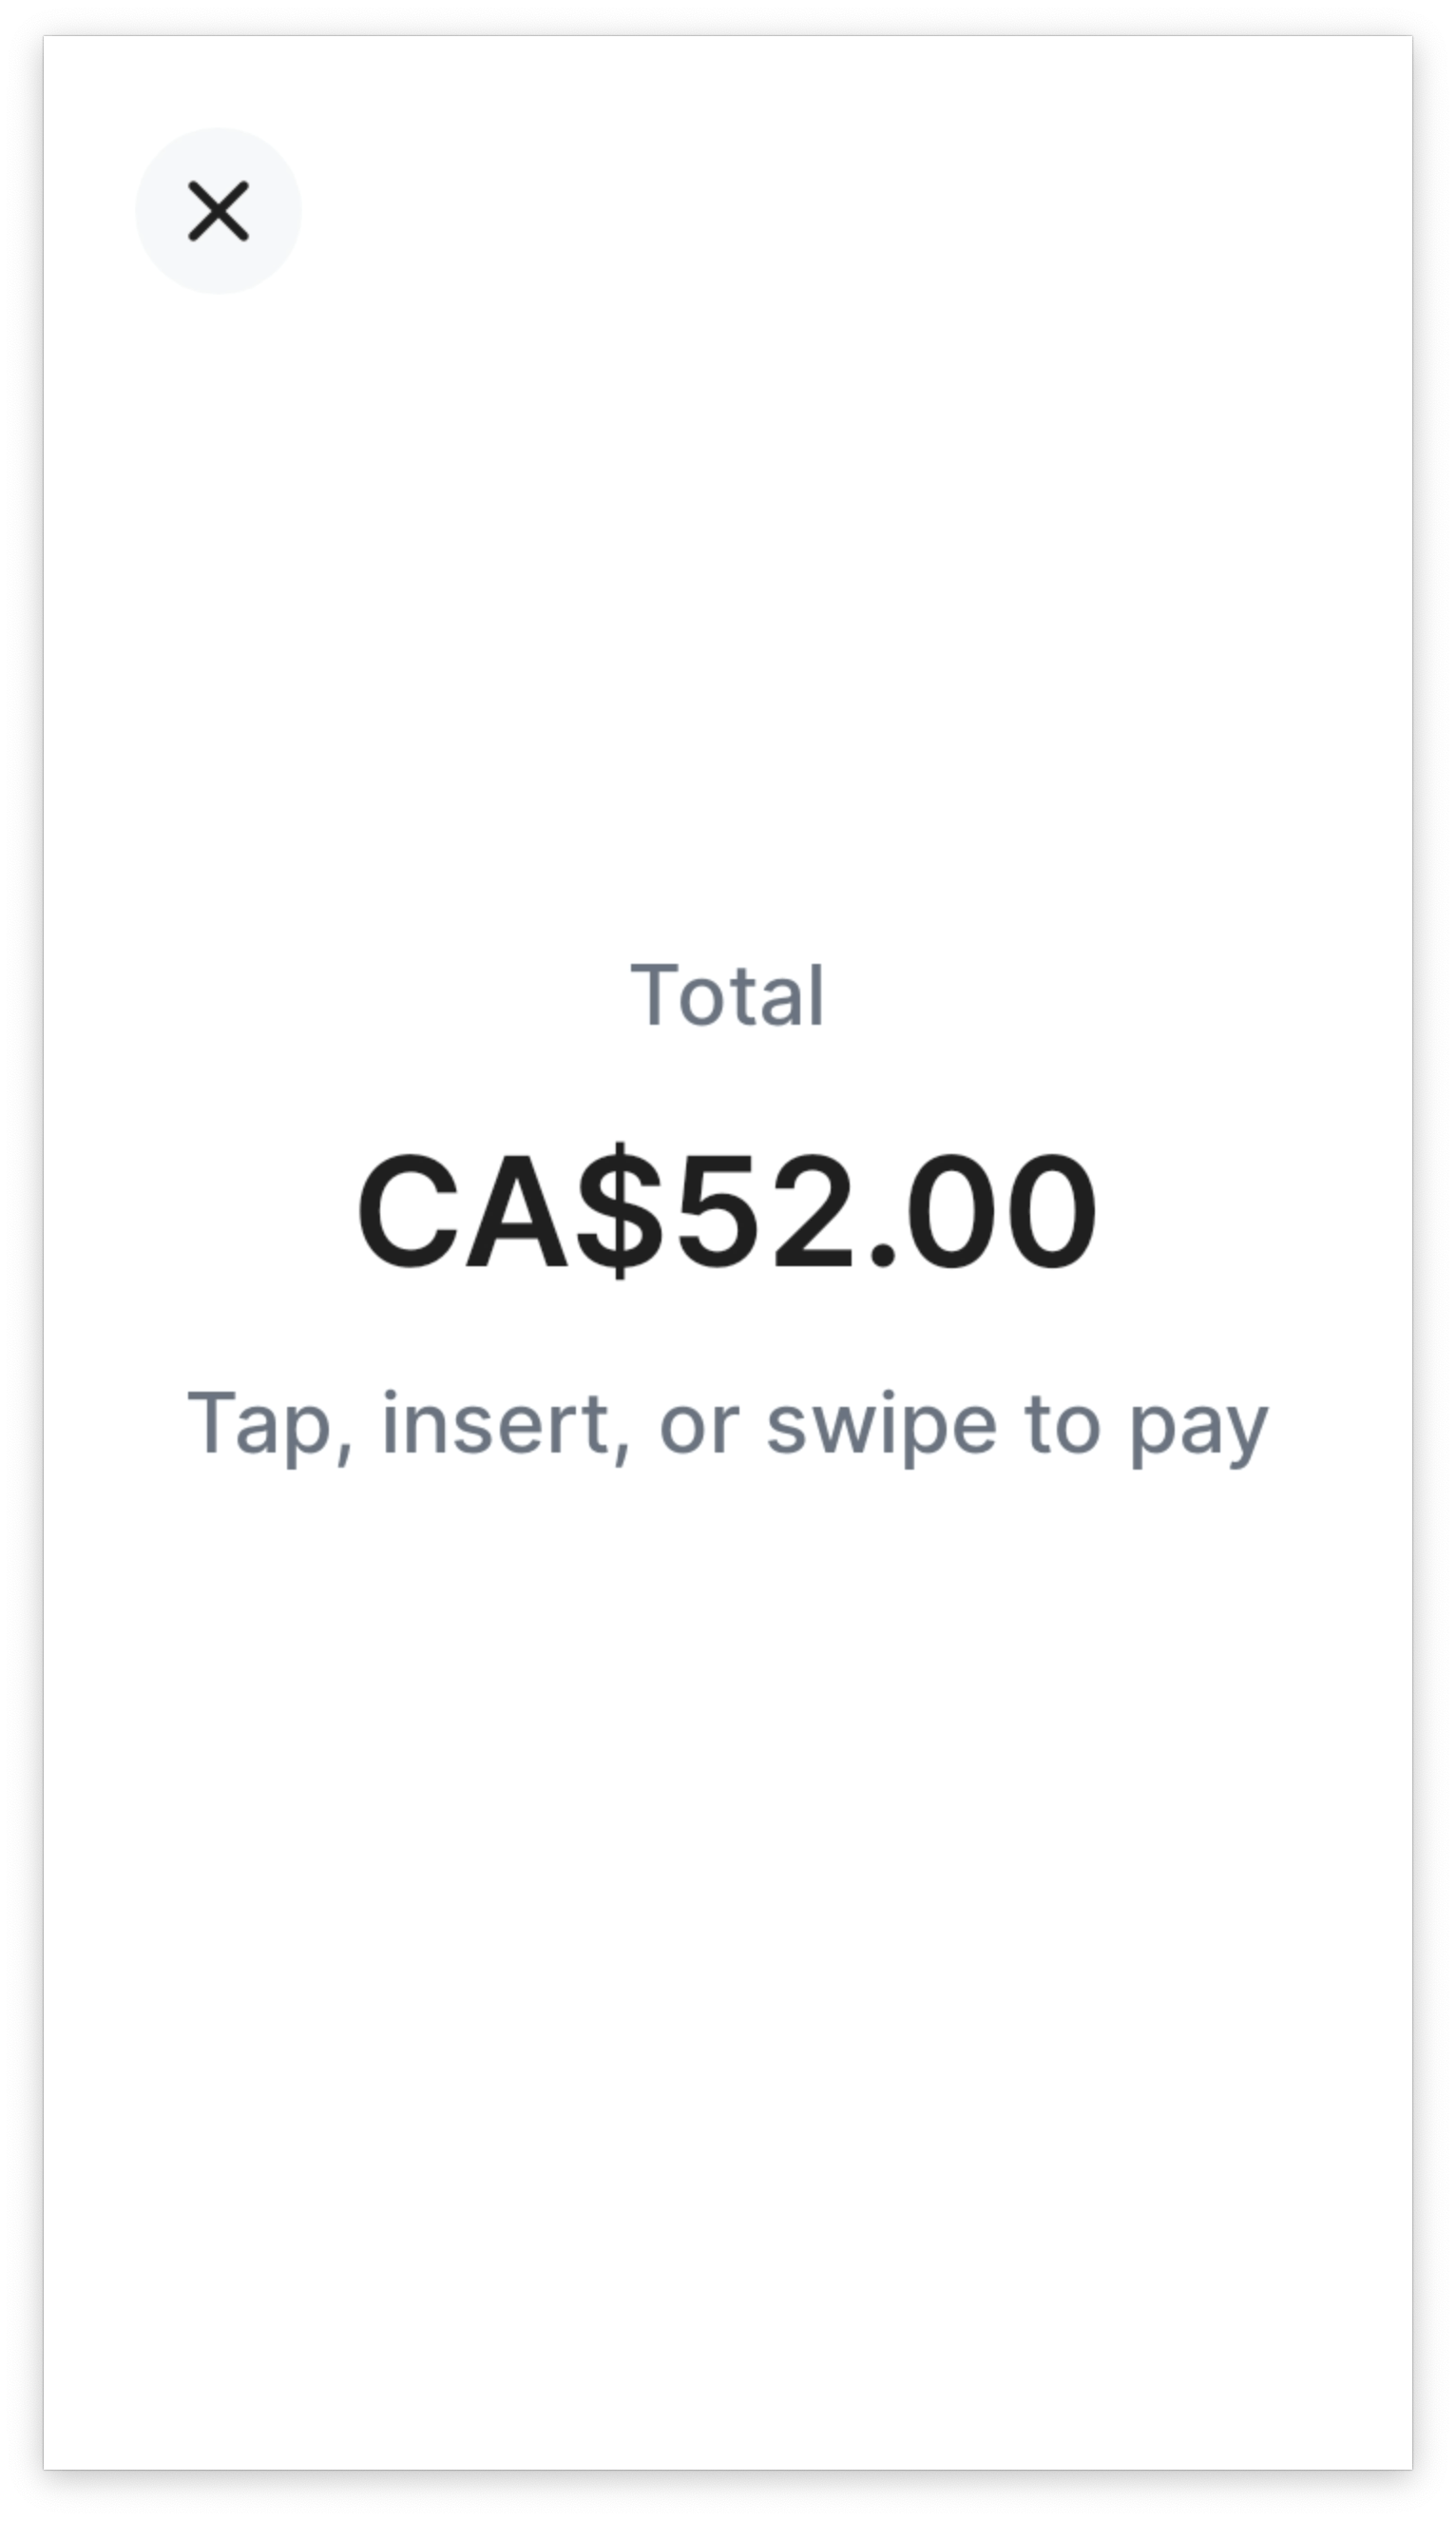
In test mode, you can use test amounts to simulate different error scenarios. In live mode, the amount of the PaymentIntent displays on the reader for payment.
For Terminal payments, the payment_method_types parameter must include card_present.
Note
To accept Interac payments in Canada, you must also include interac_present in payment_method_types. For more details, visit our Canada documentation.
You can control the payment flow as follows:
- To fully control the payment flow for
card_presentpayments, set thecapture_methodtomanual. This allows you to add a reconciliation step before finalizing the payment. - To authorize and capture payments in one step, set the
capture_methodtoautomatic.
Process the payment
You can process a payment immediately with the card presented by a customer, or instead inspect card details before proceeding to process the payment. For most use cases, we recommend processing immediately, as it is a simpler integration with less API calls and webhook events. However, if you would like to insert your own business logic before the card is authorized, you can use the two step collect and confirm flow.
If you’re using a simulated reader, use the present_payment_method endpoint to simulate a cardholder tapping or inserting their card on the reader. Use test cards to simulate different success or failure scenarios.
Capture the payment
If you defined capture_method as manual during PaymentIntent creation in Step 1, the SDK returns an authorized but not captured PaymentIntent to your application. Learn more about the difference between authorization and capture. When your application receives a confirmed PaymentIntent, make sure it notifies your backend to capture the PaymentIntent. To do so, create an endpoint on your backend that accepts a PaymentIntent ID and sends a request to the Stripe API to capture it.
A successful capture call results in a PaymentIntent with a status of succeeded.
Verify the reader state
To make sure the reader completed an action, your application must verify the reader state before initiating a new reader action or continuing to capture the payment. In most cases, this verification allows you to confirm a successful (approved) payment and show any relevant UX to your operator for them to complete the transaction. In other cases, you might need to handle errors, including declined payments.
Use one of the following to check the reader status:
Listen to webhooks Recommended
For maximum resiliency, we recommend your application listens to webhooks from Stripe to receive real-time notifications of the reader status. Stripe sends three webhooks to notify your application of a reader’s action status:
| Status | Description |
|---|---|
terminal.reader.action_succeeded | Sent when a reader action succeeds, such as when a payment is authorized successfully. |
terminal.reader.action_failed | Sent when a reader action fails, such as when a card is declined due to insufficient funds. |
terminal.reader.action_updated Beta | Sent when a reader action is updated, such as when a payment method is collected (only triggered for the collect_payment_method action). |
To listen for these webhooks, create a webhook endpoint. We recommend having a dedicated webhook endpoint for only these events because they’re high priority and in the critical payment path.
To retrieve terminal.reader.action_updated events, webhook endpoints must have the terminal_collect_confirm_beta beta header set. Create webhooks to have the same API version and beta header as your collect_payment_method and confirm_payment_intent calls.
Poll the Stripe API
In case of webhook delivery issues, you can poll the Stripe API by adding a check status button to your point of sale interface that the operator can invoke, if needed.
Use the PaymentIntent
You can retrieve the PaymentIntent that you passed to the reader for processing. When you create a PaymentIntent it has an initial status of requires_payment_method. After you successfully collect the payment method, the status updates to requires_confirmation. After the payment processes successfully, the status updates to requires_capture.
Use the reader object
You can use the Reader object, which contains an action attribute that shows the latest action received by the reader and its status. Your application can retrieve a Reader to check if the status of the reader action has changed.
The Reader object is also returned as the response to the process payment step. The action type when processing a payment is process_payment_intent.
The action.status updates to succeeded for a successful payment. This means you can proceed with completing the transaction. Other values for action.status include failed or in_progress.
Handle errors
The following errors are the most common types your application needs to handle:
- Avoiding double charges
- Payment failures
- Payment timeout
- Payment cancellation
- Reader busy
- Reader timeout
- Reader offline
- Missing webhooks
- Delayed webhooks
Avoiding double charges
The PaymentIntent object enables money movement at Stripe—use a single PaymentIntent to represent a transaction.
Re-use the same PaymentIntent after a card is declined (for example, if it has insufficient funds), so your customer can try again with a different card.
If you edit the PaymentIntent, you must call process_payment_intent to update the payment information on the reader.
A PaymentIntent must be in the requires_payment_method state before Stripe can process it. An authorized, captured, or canceled PaymentIntent can’t be processed by a reader and results in an intent_invalid_state error:
{
  "error": {
    "code": "intent_invalid_state",
    "doc_url": "https://stripe.com/docs/error-codes/intent-invalid-state",
    "message": "Payment intent must be in the requires_payment_method state to be processed by a reader.",
    "type": "invalid_request_error"
  }
}
Payment failures
The most common payment failure is a failed payment authorization (for example, a payment that’s declined by the customer’s bank due to insufficient funds).
When a payment authorization fails, Stripe sends the terminal.reader.action_failed webhook. Check the action.failure_code and action.failure_message attributes to know why a payment is declined:
{
  "id": "tmr_xxx",
  "object": "terminal.reader",
  "action": {
    "failure_code": "card_declined",
    "failure_message": "Your card has insufficient funds.",
    "process_payment_intent": {
      "payment_intent": "pi_xxx"
    },
    "status": "failed",
    "type": "process_payment_intent"
  },
  ...
}
In the case of a declined card, prompt the customer for an alternative form of payment. Use the same PaymentIntent in another request to the process_payment_intent endpoint. If you create a new PaymentIntent, you must cancel the failed PaymentIntent to prevent double charges.
Note
For card read errors (for example, an error reading the chip), the reader automatically prompts the customer to retry without any notification to your application. If multiple retries fail, you can prompt for another payment method by making another process_payment_intent request.
Payment timeout
A reader with unreliable internet connectivity can fail to process a payment because of a networking request timeout when authorizing the card. The reader shows a processing screen for several seconds, followed by a failure screen, and you receive a terminal.reader.action_failed webhook with a failure_code of connection_error:
{
  "id": "tmr_xxx",
  "object": "terminal.reader",
  "action": {
    "failure_code": "connection_error",
    "failure_message": "Could not connect to Stripe.",
    "process_payment_intent": {
      "payment_intent": "pi_xxx"
    },
    "status": "failed",
    "type": "process_payment_intent"
  },
  ...
}
The payment confirmation request might have been processed by Stripe’s backend systems, but the reader might have disconnected before receiving the response from Stripe. When receiving a webhook with this failure code, fetch the PaymentIntent status to verify if the payment is successfully authorized.
Payment cancellation
Programmatic cancellation
You might need to cancel an in-flight payment. For example, if a customer adds items to their purchase after your integration has already initiated payment collection on the reader. Use the cancel_action endpoint to reset the reader:
Note
You can’t cancel a reader action in the middle of a payment authorization. If a customer has already presented their card to pay on the reader, you must wait for processing to complete. An authorization normally takes a few seconds to complete. Calling cancel_action during an authorization results in a terminal_reader_busy error.
Customer-initiated cancellation
Users can set the value of enable_customer_cancellation on these endpoints:
When set to true, smart reader users see a cancel button.
Payment collection with cancellation enabled
Tapping the cancel button cancels the active transaction. Stripe sends a terminal.reader.action_failed webhook with a failure_code of customer_canceled.
{
  "action": {
    "failure_code": "customer_canceled",
    "failure_message": "This action could not be completed due to an error on the card reader.",
    "process_payment_intent": {
      "payment_intent": "pi_xxx",
      "process_config": {
        "enable_customer_cancellation": true
      }
    },
    "status": "failed",
    "type": "process_payment_intent"
  }
}
Reader busy
A reader can only process one request at a time. If you make two API requests to the same reader in parallel, one of them fails with a terminal_reader_busy error:
{
  "error": {
    "code": "terminal_reader_busy",
    "doc_url": "https://stripe.com/docs/error-codes/terminal-reader-timeout",
    "message": "Reader is currently busy processing another request. Please reference the integration guide at https://stripe.com/docs/terminal/payments/collect-payment?terminal-sdk-platform=server-driven#handle-errors for details on how to handle this error.",
    "type": "invalid_request_error"
  }
}
A reader also rejects an API request if it’s busy performing updates or changing settings.
Reader timeout
On rare occasions, a reader might fail to respond to an API request on time because of temporary networking issues. If this happens, you receive a terminal_reader_timeout error code:
{
  "error": {
    "code": "terminal_reader_timeout",
    "doc_url": "https://stripe.com/docs/error-codes/terminal-reader-timeout",
    "message": "There was a timeout when sending this command to the reader. Please reference the integration guide at https://stripe.com/docs/terminal/payments/collect-payment?terminal-sdk-platform=server-driven#handle-errors for details on how to handle this error.",
    "type": "invalid_request_error"
  }
}
In this case, we recommend you retry the API request.
Note
On rare occasions, a terminal_reader_timeout error code is a false negative. In this scenario, you receive a terminal_reader_timeout error from the API as described above, but the reader has actually received the command successfully. False negatives happen when Stripe sends a message to the reader, but doesn’t receive an acknowledgement back from the reader due to temporary networking failures.
Reader offline
A location losing its internet connection might result in interrupted communication between the reader and Stripe. In this case, a reader is unresponsive to events initiated from your point of sale application and backend infrastructure.
A reader that consistently fails to respond to API requests is most likely powered off (for example, the power cord is disconnected or it’s out of battery) or not correctly connected to the internet.
A reader is considered offline if Stripe hasn’t received any signal from that reader in the past 2 minutes. Attempting to call API methods on a reader that’s offline results in a terminal_reader_offline error code:
{
  "error": {
    "code": "terminal_reader_offline",
    "doc_url": "https://stripe.com/docs/error-codes/terminal-reader-offline",
    "message": "Reader is currently offline, please ensure the reader is powered on and connected to the internet before retrying your request. Reference the integration guide at https://stripe.com/docs/terminal/payments/collect-payment?terminal-sdk-platform=server-driven#handle-errors for details on how to handle this error.",
    "type": "invalid_request_error"
  }
}
Follow the guide to debug connectivity issues to make sure a reader is correctly connected to the internet.
Missing webhooks
When a reader disconnects in the middle of a payment, it can’t update its action status in the API. In this scenario, the reader shows an error screen after a card is presented. However, the Reader object in the API doesn’t update to reflect the failure on the device, and you also don’t get reader action webhooks. A reader might be left with an action status of in_progress when this happens, and a cashier has to intervene by calling the cancel_action endpoint to reset the reader state.
Delayed webhooks
On rare occasions, if Stripe is having an outage, reader action webhooks might be late. You can query the status of the Reader or the PaymentIntent objects to know what their latest state is.
Webhook events
| Webhook | Description |
|---|---|
terminal.reader.action_succeeded | Sent when an asynchronous action succeeds. Sent for actions that need card presentment, such as process_payment_intent, confirm_payment_intent, process_setup_intent, and refund_payment. |
terminal.reader.action_failed | Sent when an asynchronous action fails. Sent for actions that need card presentment such as process_payment_intent, process_setup_intent, refund_payment. No webhook is sent for the set_reader_display and cancel_action actions. Your integration must handle these errors. |
terminal.reader.action_updated | Sent when an asynchronous action is updated. Sent for actions such as collect_payment_method. |