Using Connect with Standard connected accounts
Use Standard connected accounts to get started using Connect right away, and let Stripe handle the majority of the connected account experience.
A Standard connected account is a conventional Stripe account where your connected account has a relationship with Stripe, is able to log in to the Dashboard, and can process charges on their own.
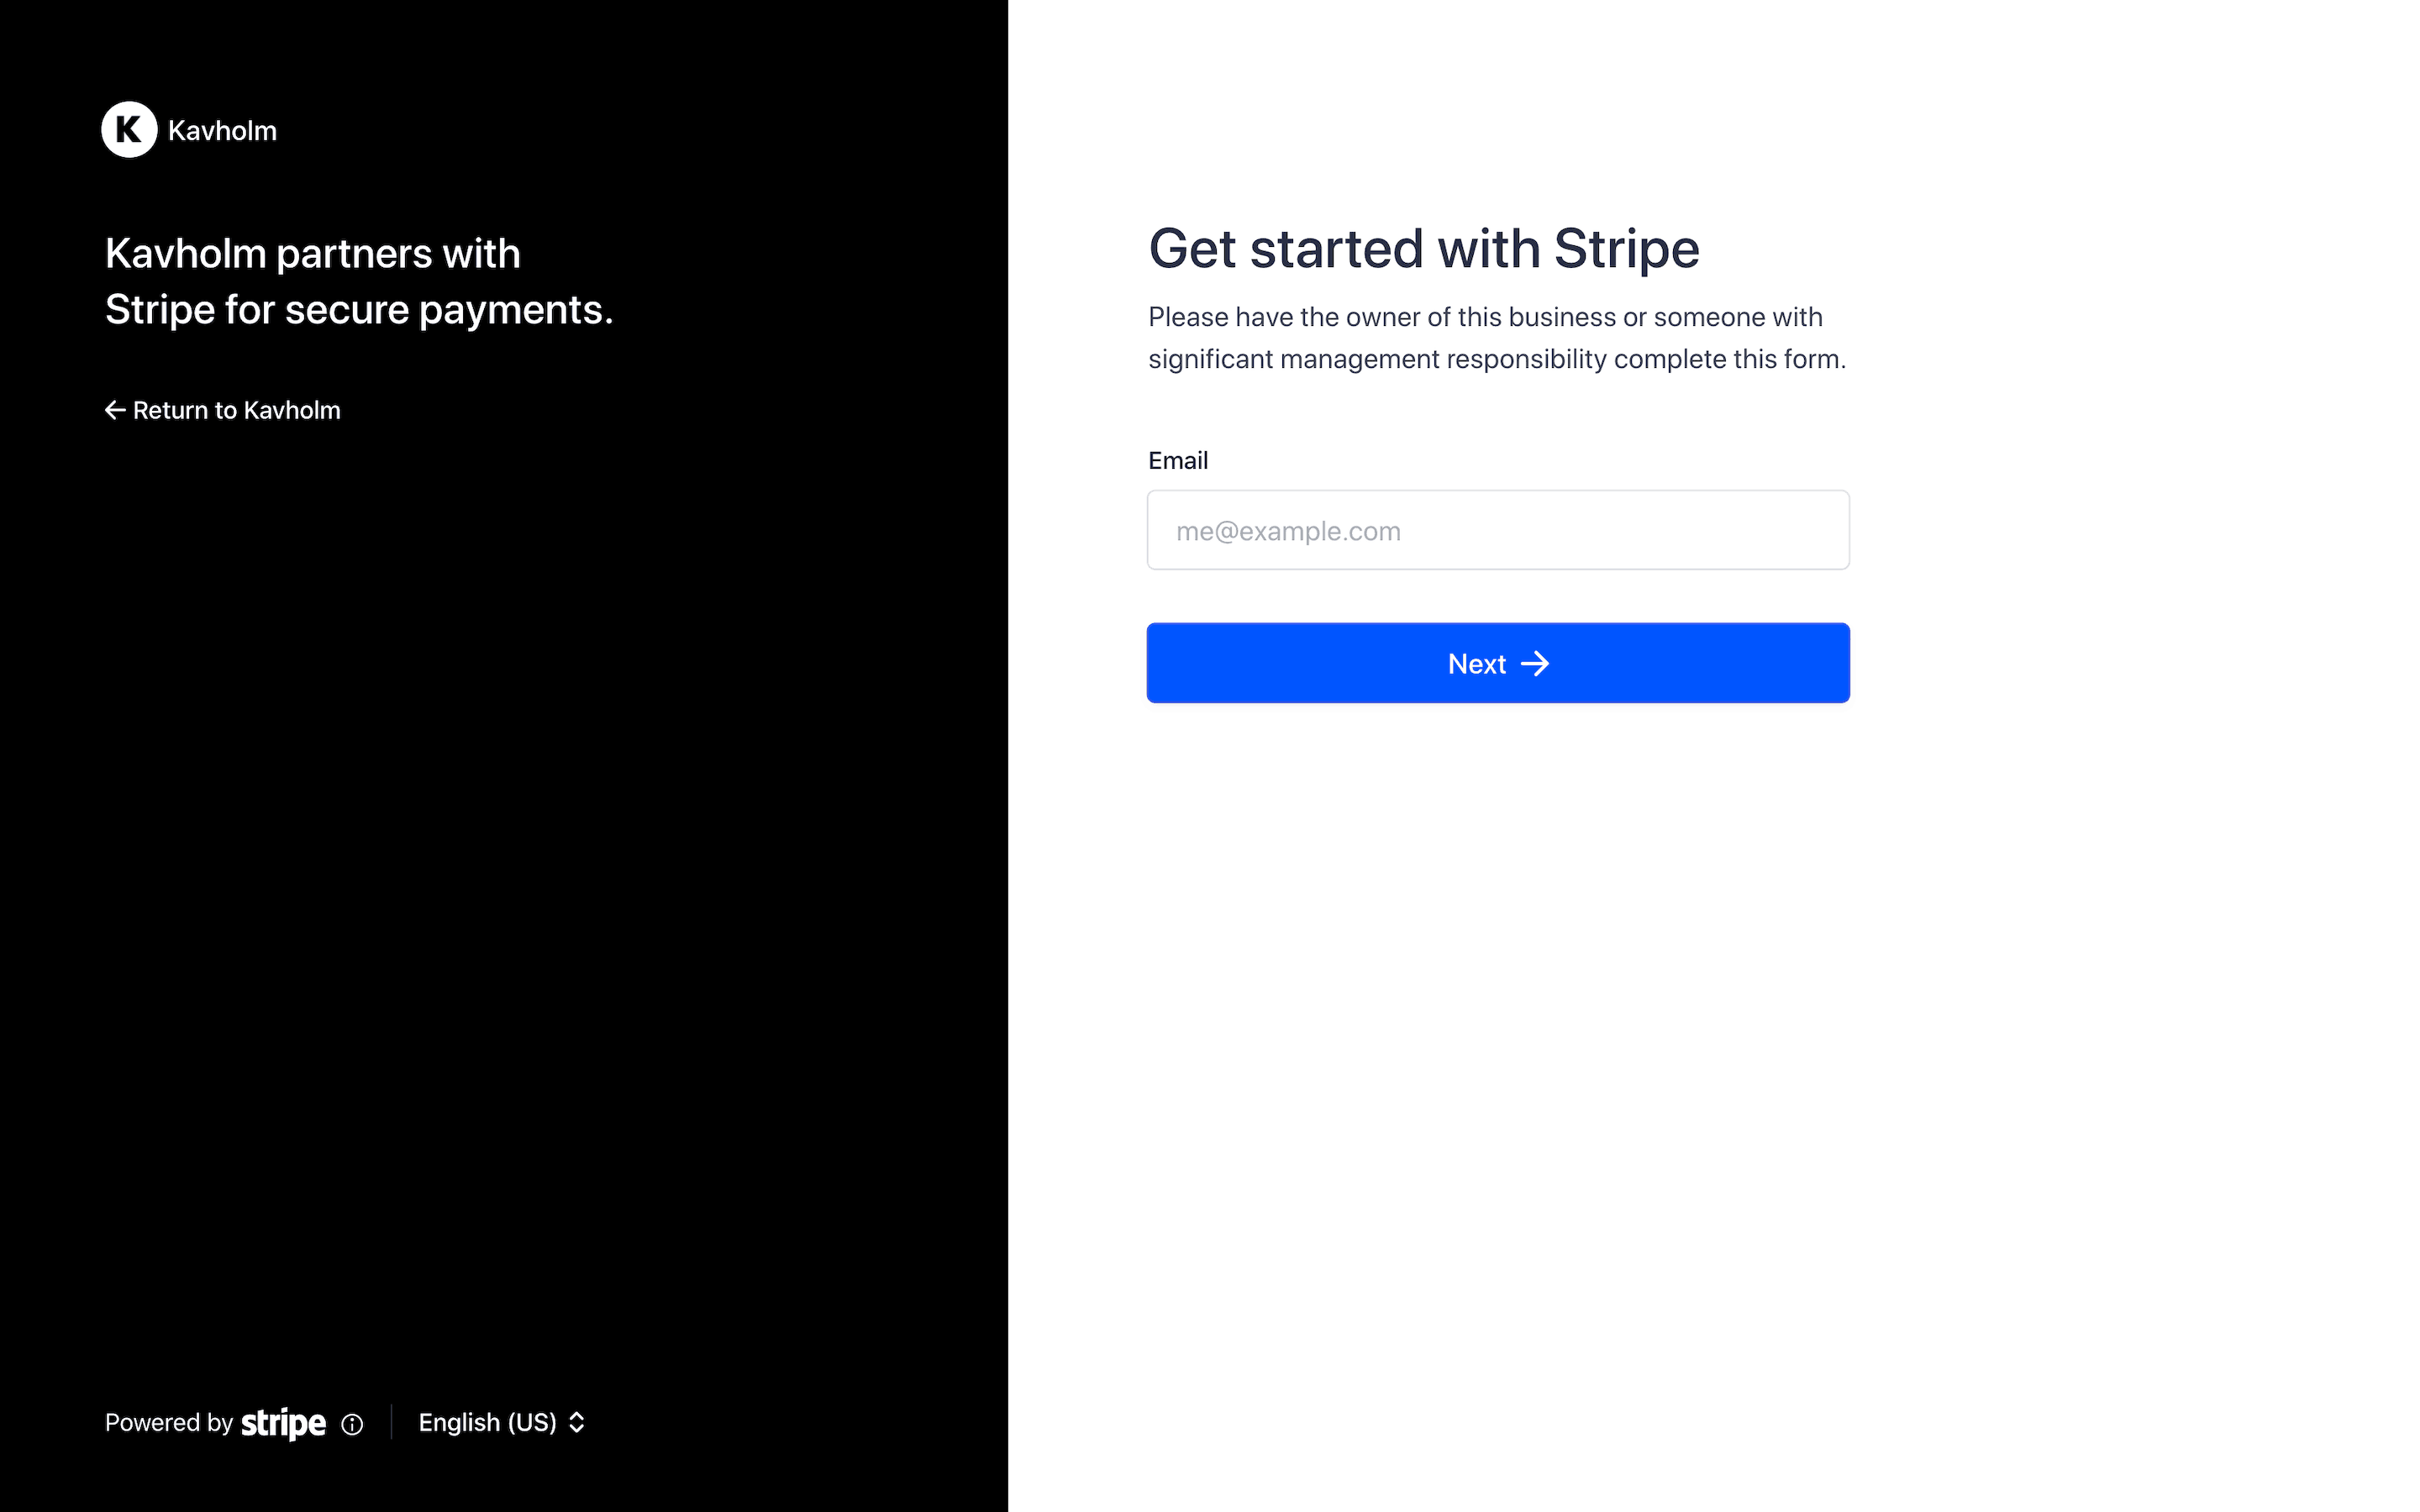
Stripe’s sample integration, Kavholm, shows you how to use Connect Onboarding for a seamless user onboarding experience.

Get started
If you’re new to Connect, start with a guide to use Standard accounts to enable other businesses to accept payments directly.
How to use Connect Onboarding for Standard accounts
Go to your Connect settings page to customize the visual appearance of the form with the name, color, and icon of your brand. Connect Onboarding requires this information.
Use the
/v1/accountsAPI to create a new account and get the account ID. You can prefill information on the account object for the user before you generate the account link. You must pass the following parameter:type=standard
Note
After you’ve created the new account, check to see that the account displays in the Dashboard.
Call the Account Links API to create a link for the account to onboard with.
In the onboarding flow for your own platform, redirect your user to the
urlreturned by Account Links.Handle additional account states, redirecting your account to the Connect Onboarding flow if necessary.
Optional: You can add additional procedures, such as Tax or Climate, to the Connect Onboarding flow through the Connect onboarding options in the Dashboard.
Create a Standard account and prefill information
Use the Create Account API to create a connected account with type set to standard. You can prefill any information, but at a minimum, you must specify the type. The country of the account defaults to the same country as your platform, and the account confirms the selection during onboarding. If you know what capabilities the account needs, you can request them when you create it.
Note
This example includes only some of the fields you can set when creating an account. For a full list of the fields you can set, such as address and website_, see the Create Account API reference.
If you’ve already collected information for your connected accounts, you can prefill that information on the Account object. You can prefill any account information, including personal and business information, external account information, and so on.
Connect Onboarding doesn’t ask for the prefilled information. However, it does ask the account holder to confirm the prefilled information before accepting the Connect service agreement.
When testing your integration, prefill account information using test data.
Create an account link
You can create an account link by calling the Account Links API with the following parameters:
account- use the account ID returned by the API from the previous steprefresh_url return_url type=account_onboarding
Redirect your user to the account link URL
The response to your Account Links request includes a value for the key url. Redirect to this link to send your user into the flow. You can only use URLs from the account links once because they grant access to the account holder’s personal information. Authenticate the user in your application before redirecting them to this URL. After you create an account link on a Standard account, you won’t be able to read or write Know Your Customer (KYC) information. Prefill any KYC information before creating the first account link.
Security tip
Don’t email, text, or otherwise send account link URLs outside of your platform application. Instead, provide them to the authenticated account holder within your application.
Handle the user returning to your platform
Connect Onboarding requires you to pass both a return_ and refresh_ to handle all cases where you redirect the user to your platform. It’s important that you implement these correctly to provide the best experience for your user.
Note
You can use HTTP for your return_ and refresh_ while in you’re in a testing environment (for example, to test with localhost), but you can only use HTTPS in live mode. Be sure to swap testing URLs for HTTPS URLs before going live.
return_url
Stripe issues a redirect to this URL when the user completes the Connect Onboarding flow. This doesn’t mean that all information has been collected or that there are no outstanding requirements on the account. This only means the flow was entered and exited properly.
No state is passed through this URL. After redirecting a user to your return_, check the state of the details_ parameter on their account by doing either of the following:
refresh_url
Your user redirects to the refresh_ in these cases:
- The link expired (a few minutes went by since the link was created)
- The user already visited the link (they refreshed the page, or clicked back or forward in the browser)
- Your platform is no longer able to access the account
- The account has been rejected
Your refresh_ triggers a method on your server to call Account Links again with the same parameters, and redirect the user to the Connect Onboarding flow to create a seamless experience.
Handle users that have not completed onboarding
A user that is redirected to your return_ might not have completed the onboarding process. Use the /v1/accounts endpoint to retrieve the user’s account and check for charges_. If the account isn’t fully onboarded, provide UI prompts to allow the user to continue onboarding later. The user can complete their account activation through a new account link (generated by your integration). You can check the state of the details_ parameter on their account to see if they’ve completed the onboarding process.