Automatically collect tax on invoices
Learn how to automatically calculate tax on your invoices.
On an invoice, Stripe Tax calculates sales tax, VAT, and GST. To calculate these for each line item, Stripe uses:
- Your tax settings
- The customer’s tax settings and location
- The product tax code and price tax behavior
Set up the customer
We use the customer’s location to determine the relevant taxes to collect. Customers outside of the US need at least a country-level address, while customers in the US require a 5-digit postal code. For Canada, we need at least the province or postal code.
Set up line items
To calculate tax on each line item on an invoice, you need to set a tax behavior and optionally a tax code.
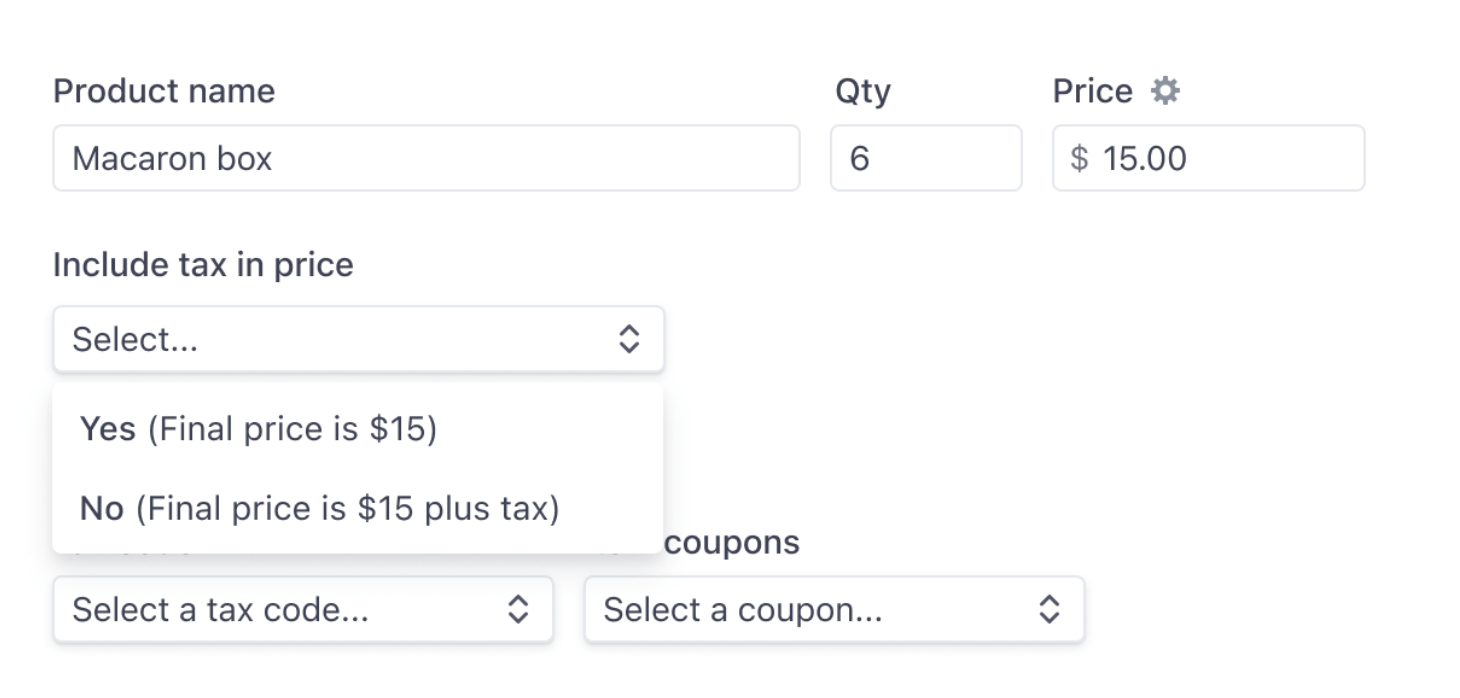
Customize tax settings for one-off line items
Customize line items in the Invoice Editor by selecting the tax behavior from the Include tax in price drop-down menu.
Customize tax settings for one-off line items
Customize tax settings for product-based line items
You can use both the Dashboard and the API to customize tax settings for product-based line items.

