Skip to content
Sign in
An image of the Stripe logo
/
Create account
Sign in
Home
Payments
Finance automation
Banking as a service
Developer tools
No-code
All products
Home
Payments
Finance automation
Home
Payments
Finance automation
Banking as a service
Developer tools
Overview
Building your integration
Developer tools
SDKs
API
Security
Sample projects
Videos
Stripe Apps
    Overview
    Get started
    Create an app
    How Stripe Apps work
    Sample apps
    Development
    Store secrets
    API authentication methods
    Authorization flows
    Server-side logic
    App settings page
    Build a UI
    Onboarding
    UI design
    Design your app
    Style your app
    Design patterns
      Action buttons
      Activation flow
      Additional context
      Back link
      Communicating state
      Demo content
      Empty state
      Lists
      Loading
      Progress stepping
      Redirects
      Settings sign in
      Sign in template
      Sign out
      Waiting screens
    Components
    Share and distribute
    Distribution options
    Upload your app
    Versions and releases
    Test your app
    Publish your app
    Promote your app
    Add deep links
    Using install links
    Using roles in UI Extensions
    Post-install actions
    App analytics
    Reference
    App manifest
    CLI
    Extension SDK
    Permissions
    Viewports
    Extensions
    Migrate to Stripe Apps
    Building extensions
    Plugins and connectors
    Plugin authentication
Stripe Connectors
Partners
HomeDeveloper toolsDesign patterns

Additional context for Stripe Apps

Learn about how additional contexts in onboarding can help users better understand your app.

If you need to share any additional context before users sign in, dedicate a space for it on a separate screen.

Before you begin

  • Create an app

Suggested use

  • Use a FocusView component to provide additional context, or to show a demo screen of how your app works.
  • Make sure the sign in screen is focused on onboarding tasks. Any additional context should be brief and contextualized. For example:
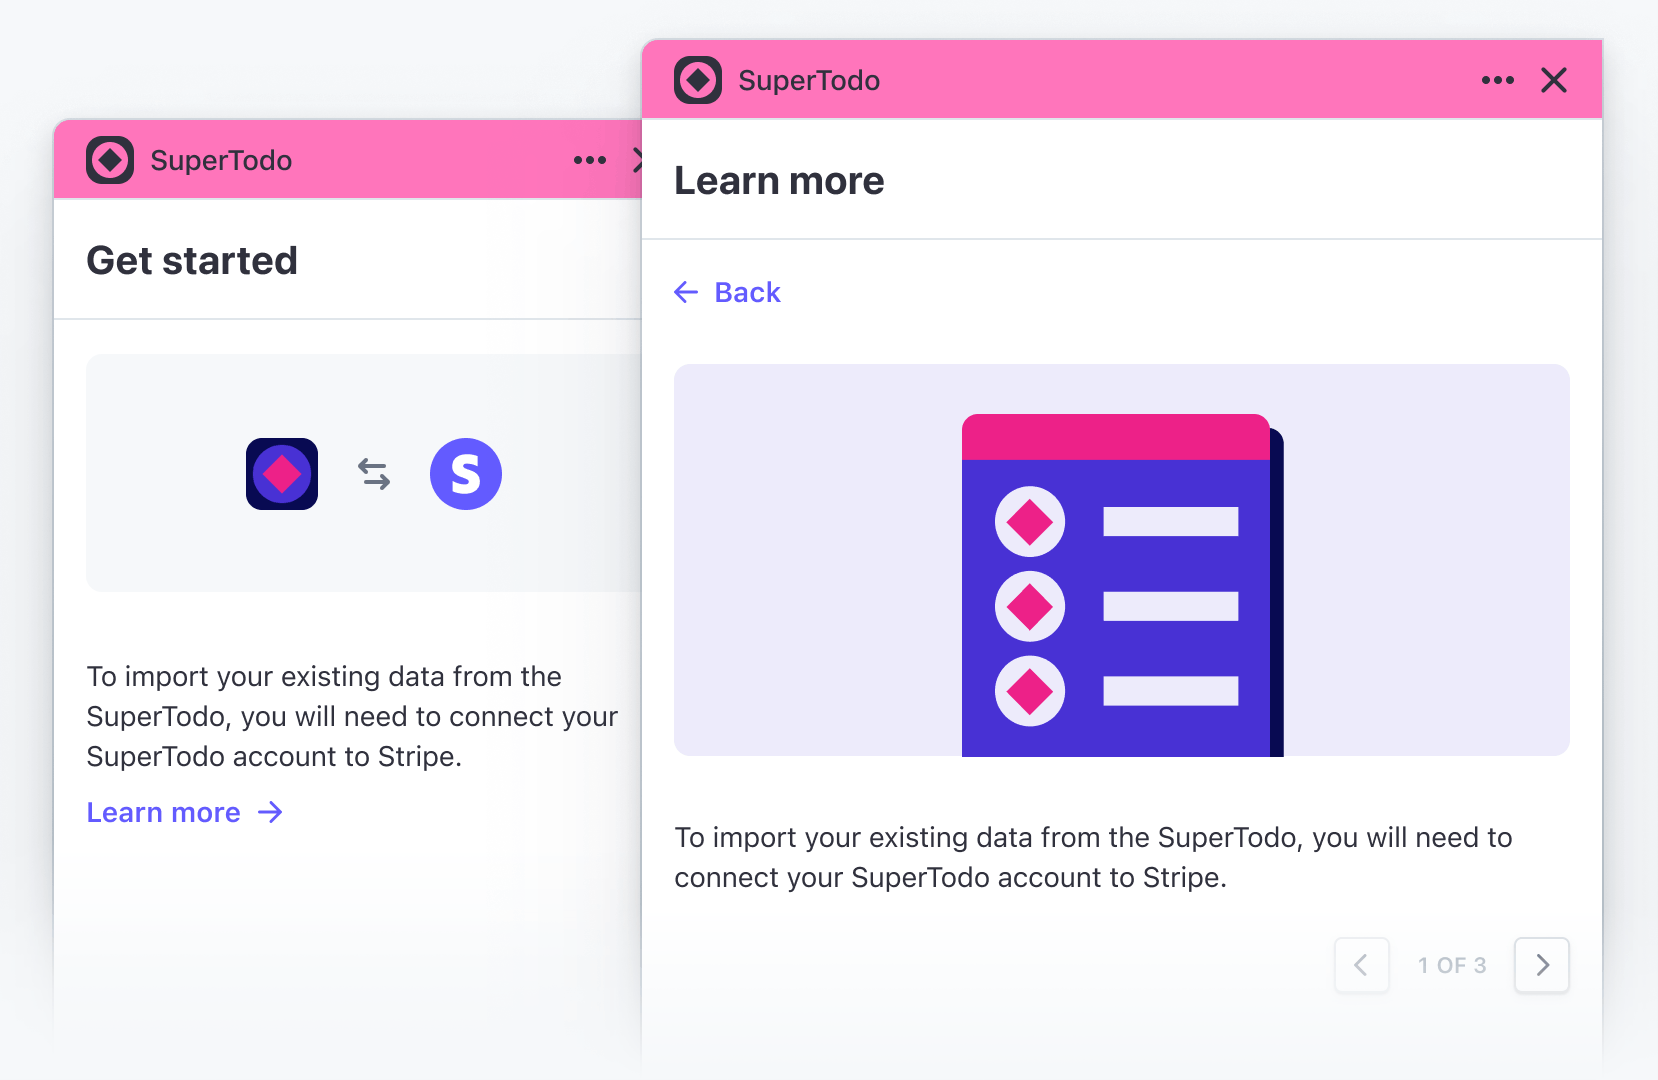
Example

The following sample shows additional content displayed within a SignInView component:

import {SignInView, Img, Link} from '@stripe/ui-extension-sdk/ui'; import appIcon from './icon.svg'; const Onboarding = () => ( <SignInView description="Connect your SuperTodo account with Stripe." primaryAction={{label: 'Sign in', href: 'https://example.com'}} footerContent={ <> Don't have an account? <Link href="https://example.com">Sign up</Link> </> } descriptionActionLabel="Learn more" descriptionActionTitle="Learn more" descriptionActionContents={ <> <Img href="https://example.com/screenshot.png" /> To import existing data from SuperTodo, you will need to connect your SuperTodo account to Stripe. </> } brandColor="#635bff" brandIcon={appIcon} /> );
Was this page helpful?
Need help? Contact Support.
Watch our developer tutorials.
Check out our product changelog.
Questions? Contact Sales.
Powered by Markdoc
You can unsubscribe at any time. Read our privacy policy.
On this page
Before you begin
Suggested use
Example
Stripe Shell
Test mode
Welcome to the Stripe Shell! Stripe Shell is a browser-based shell with the Stripe CLI pre-installed. Log in to your Stripe account and press Control + Backtick (`) on your keyboard to start managing your Stripe resources in test mode. - View supported Stripe commands: - Find webhook events: - Listen for webhook events: - Call Stripe APIs: stripe [api resource] [operation] (e.g., )
The Stripe Shell is best experienced on desktop.
$