Testing Issuing
Learn how to test your integration and simulate purchases.
You can issue cards and simulate purchases using your own Stripe integration in a sandbox environment. This allows you to test your integration before you go live without having to make real purchases. You can only use these cards for testing within your Stripe account and not for external purchases.
Caution
When testing your authorization endpoint, make sure that you have set the test endpoint in your Issuing settings. You can view test data by switching into your sandbox environment.
Fund your test Issuing balance
Before you create test transactions, you must add test funds to the Issuing balance on your account. These aren’t real funds, and you can only use them for simulating test purchases.
Issuing users in the US
Issuing users in the US use “pull” funding, and use Top-ups to fund their Issuing balance. You can create test top-ups in the Dashboard, or with the Top-ups API. Learn more about funding Issuing balances for US users.
Issuing users in the UK and euro area
To top up their balance, Issuing users in the UK and Europe “push” funds using Funding Instructions. You can do this in your sandbox environment, which you access from the Dashboard, or with the Funding Instructions API. Learn more about funding Issuing balances for UK and euro area users.
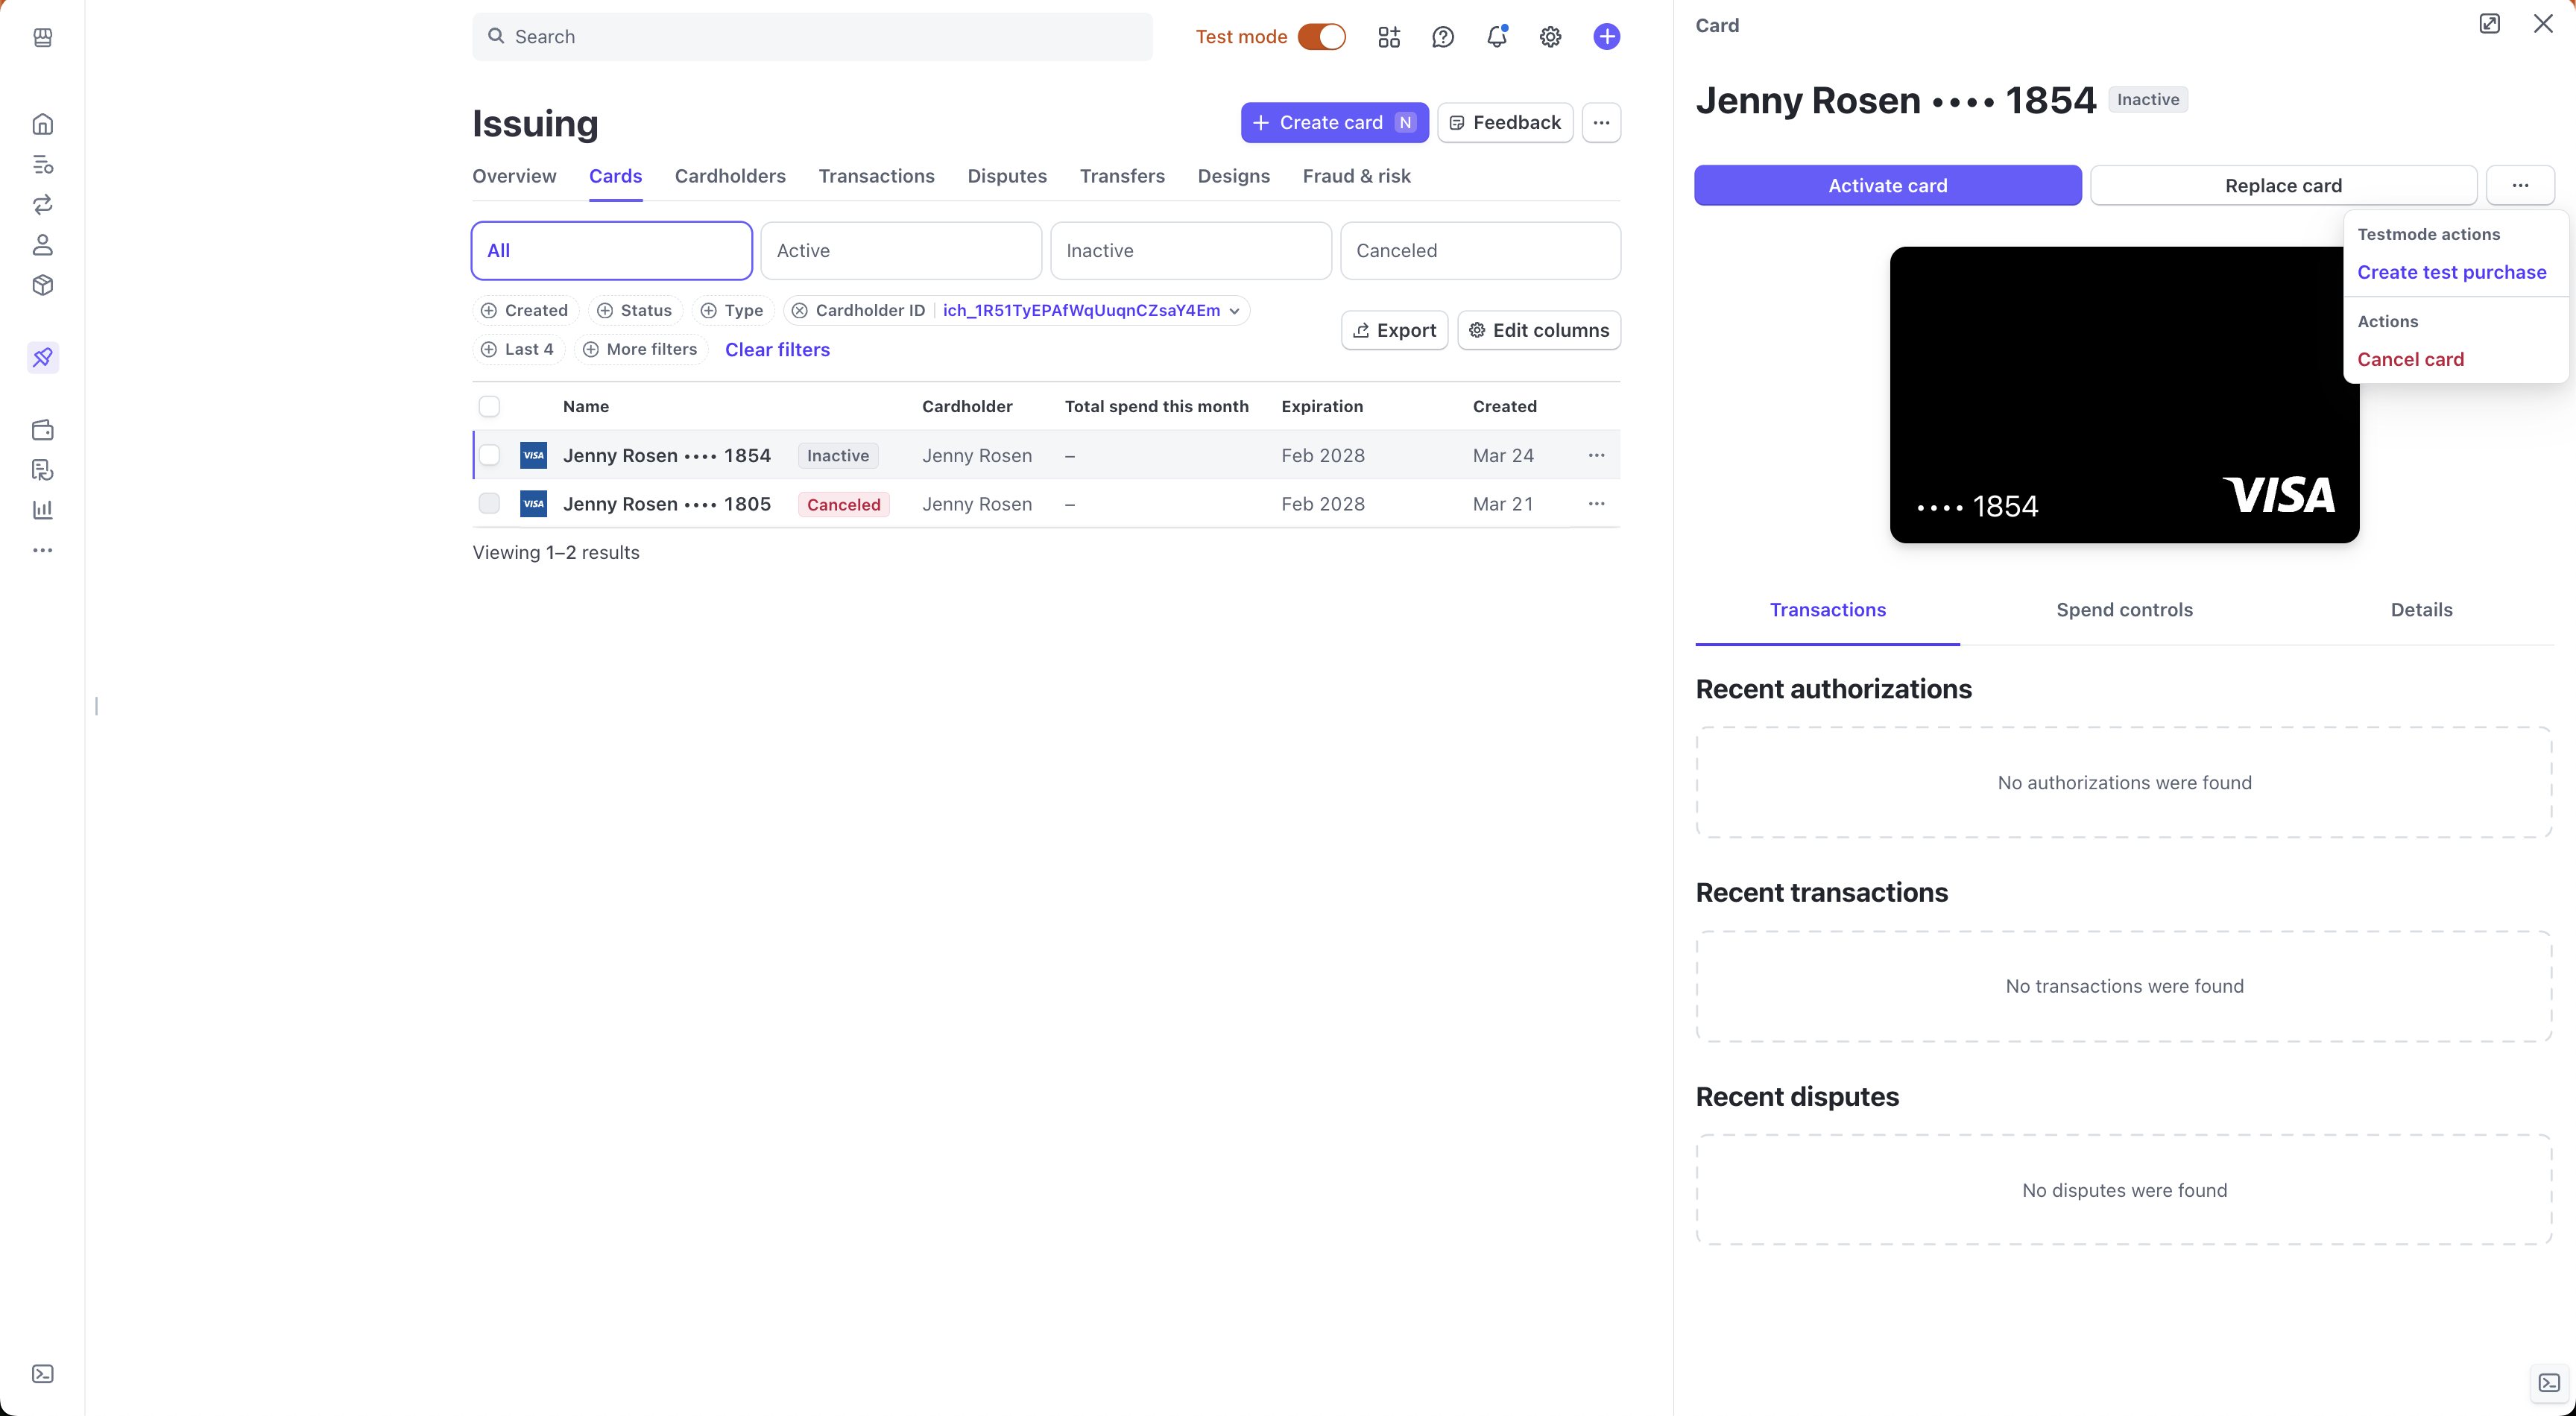
You can simulate a card purchase by specifying authorization details in the Dashboard.
Create a cardDashboard
Use the API or the Dashboard to create a test cardholder and card. Visit Create virtual cards or Create physical cards for Dashboard-specific instructions.
Create a test purchaseDashboard
Navigate to the Issuing Cards page in your sandbox environment, find your newly-created card, then click Create test purchase.
You can select to create either an Authorization or Transaction by force capture.
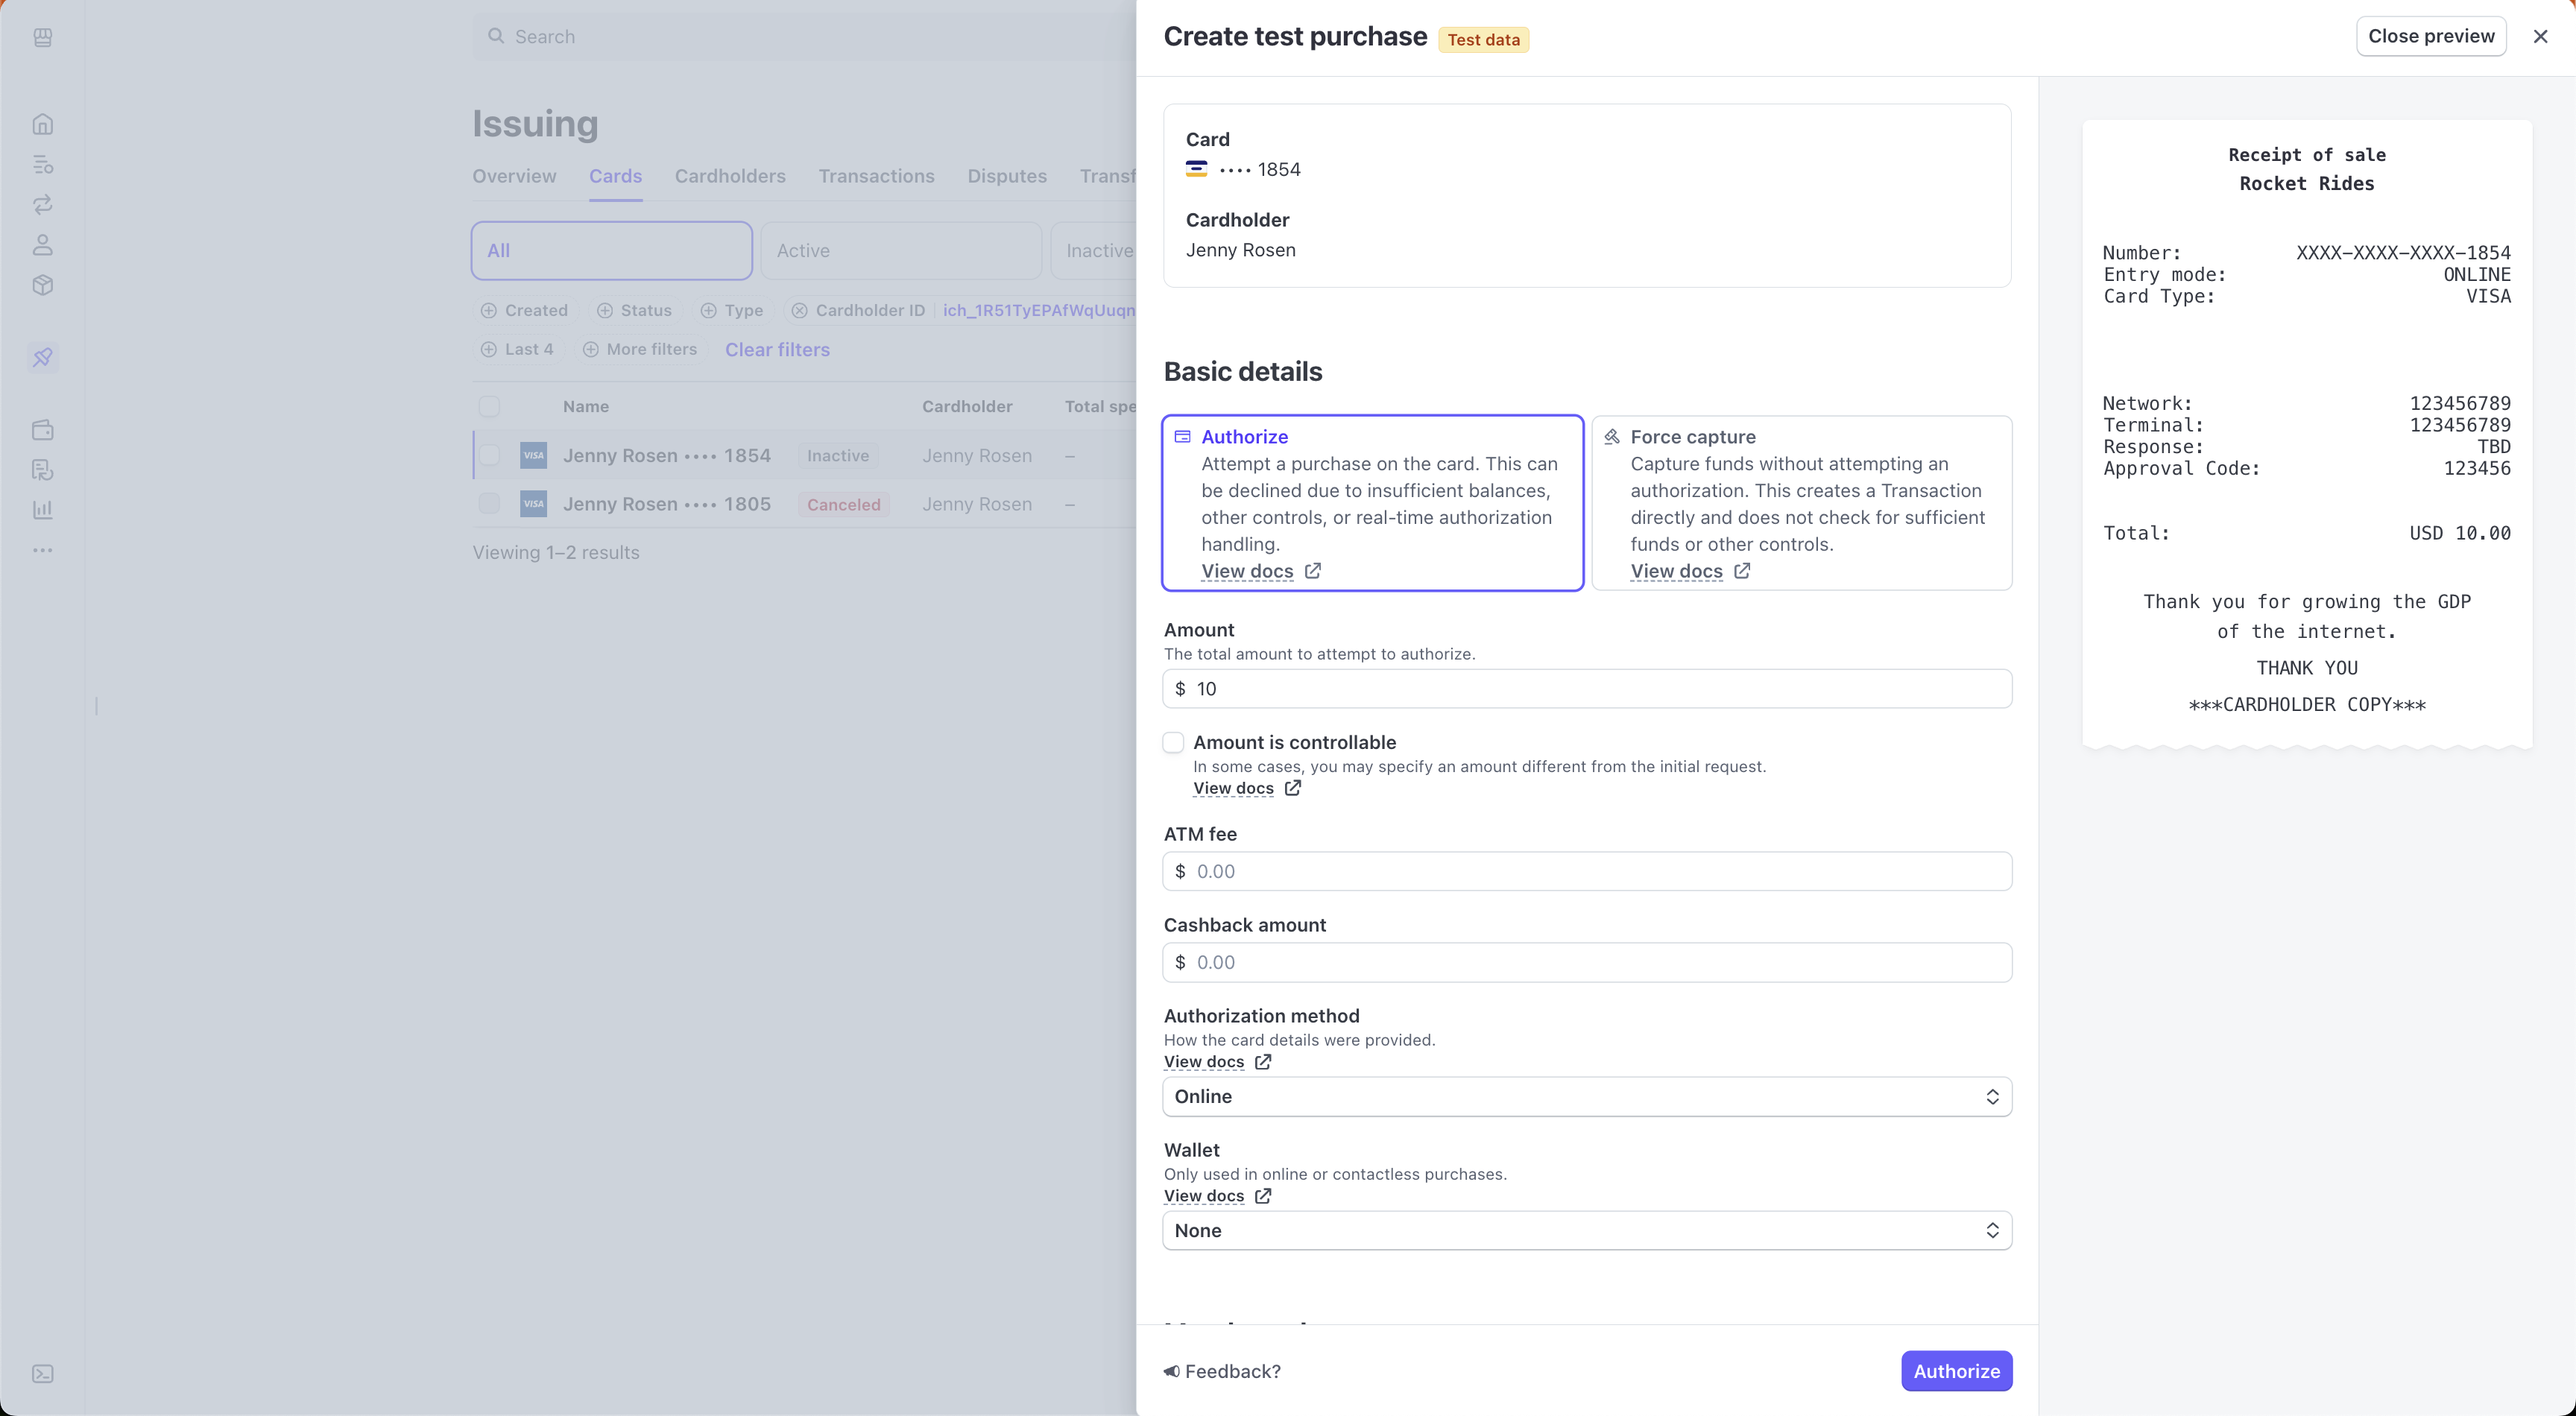
Depending on your selection, you can provide a number of properties, such as amount, business data, and so on.
Click Submit to create the purchase. If you selected authorization and have configured your synchronous webhook, you can use it to approve or decline the authorization. The browser redirects to the page for the newly-created authorization.
Create a captureDashboard
To create a test capture with an authorization in the Dashboard, switch to your sandbox environment and complete the following steps:
- Navigate to the Authorizations page under Issued Cards.
- Click the authorization you want to capture, then click Capture.

You can capture an authorization for an amount that’s lesser, greater, or equivalent to the authorized total. You can also capture multiple times regardless of the authorization’s current state.
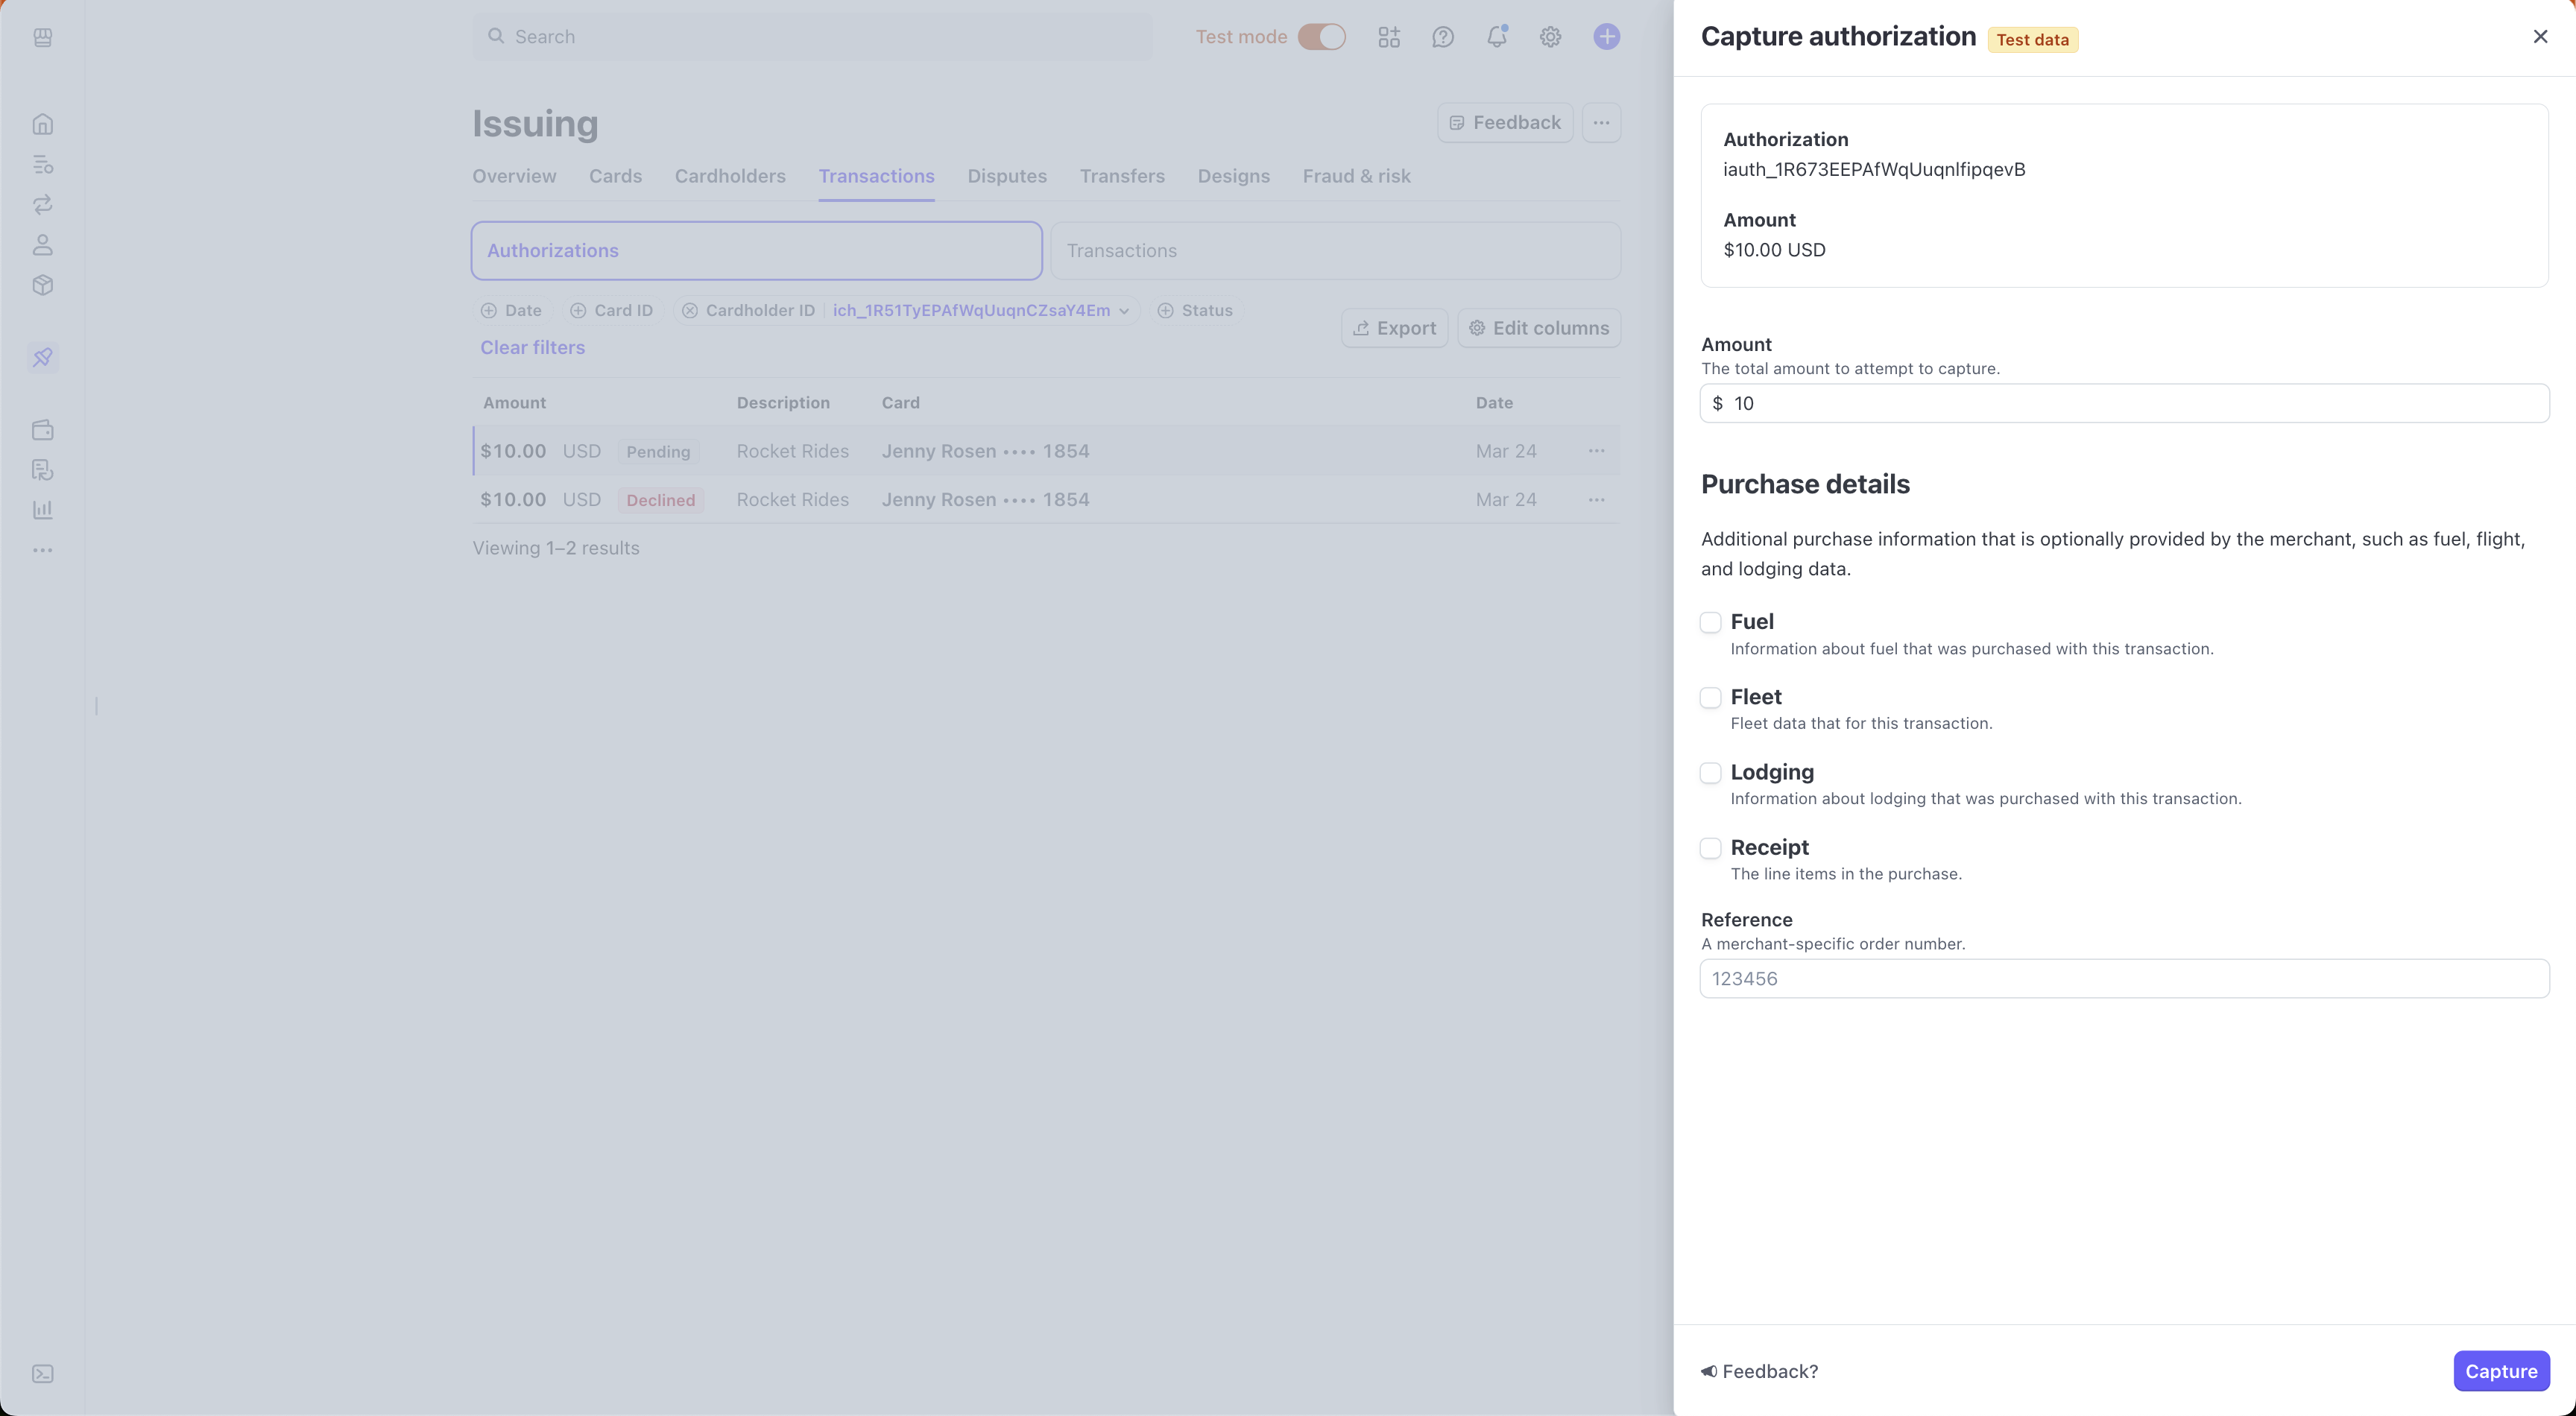
Enter the amount you want to capture, then click Submit to create the capture. The browser redirects you to the Transactions page and selects the newly created transaction.