Configure the Stripe Connector for PrestaShop
To use Stripe with PrestaShop, you must install and then configure the Stripe connector.
Configure the connector 
Use the PrestaShop dashboard to configure the connector.
Under Modules, select Module Manager.
On the Modules tab, for the Stripe payment module, click Configure.
Configure the Stripe Connector for PrestaShop:
Install the Stripe PrestaShop Commerce app
Use Stripe Apps to bolster security and simplify the use of distinct restricted keys for each integration with your Stripe account. The process of installing the Stripe App and acquiring the newly generated secret and publishable keys is essential for your integration with the PrestaShop Commerce connector. This approach eliminates the need to manually create your own restricted key or use a secret key. To integrate the PrestaShop Commerce app and reinforce your account’s security infrastructure:
- Navigate to the Stripe App Marketplace, then click Install the PrestaShop Commerce app.
- Select the Stripe account where you want to install the app.
- Review and approve the app permissions, install the app in test mode or live mode, then click Install.
- After you install the app, store the keys in a safe place where you won’t lose them. To help yourself remember where you stored it, you can leave a note on the key in the Dashboard.
- Use the newly generated publishable key and secret key to finish the Connector configuration.
- To manage the app or generate new security keys after installation, navigate to the application settings page in test mode or live mode.
Connect to Stripe to accept payments
Connect PrestaShop to your Stripe account to start accepting payments.
- On the Stripe Configure page, click Connect with Stripe.
- Navigate to the Stripe Configure page in the PrestaShop Dashboard, then paste the key from the Stripe PrestaShop app into the appropriate field.
Choose your payment form
Configure the payment form that displays to your customers during checkout. Under Payment form settings, you can choose from the following:
- Integrated payment form–The Payment Element is an embeddable UI component that lets you accept 25+ payment methods with a single integration.
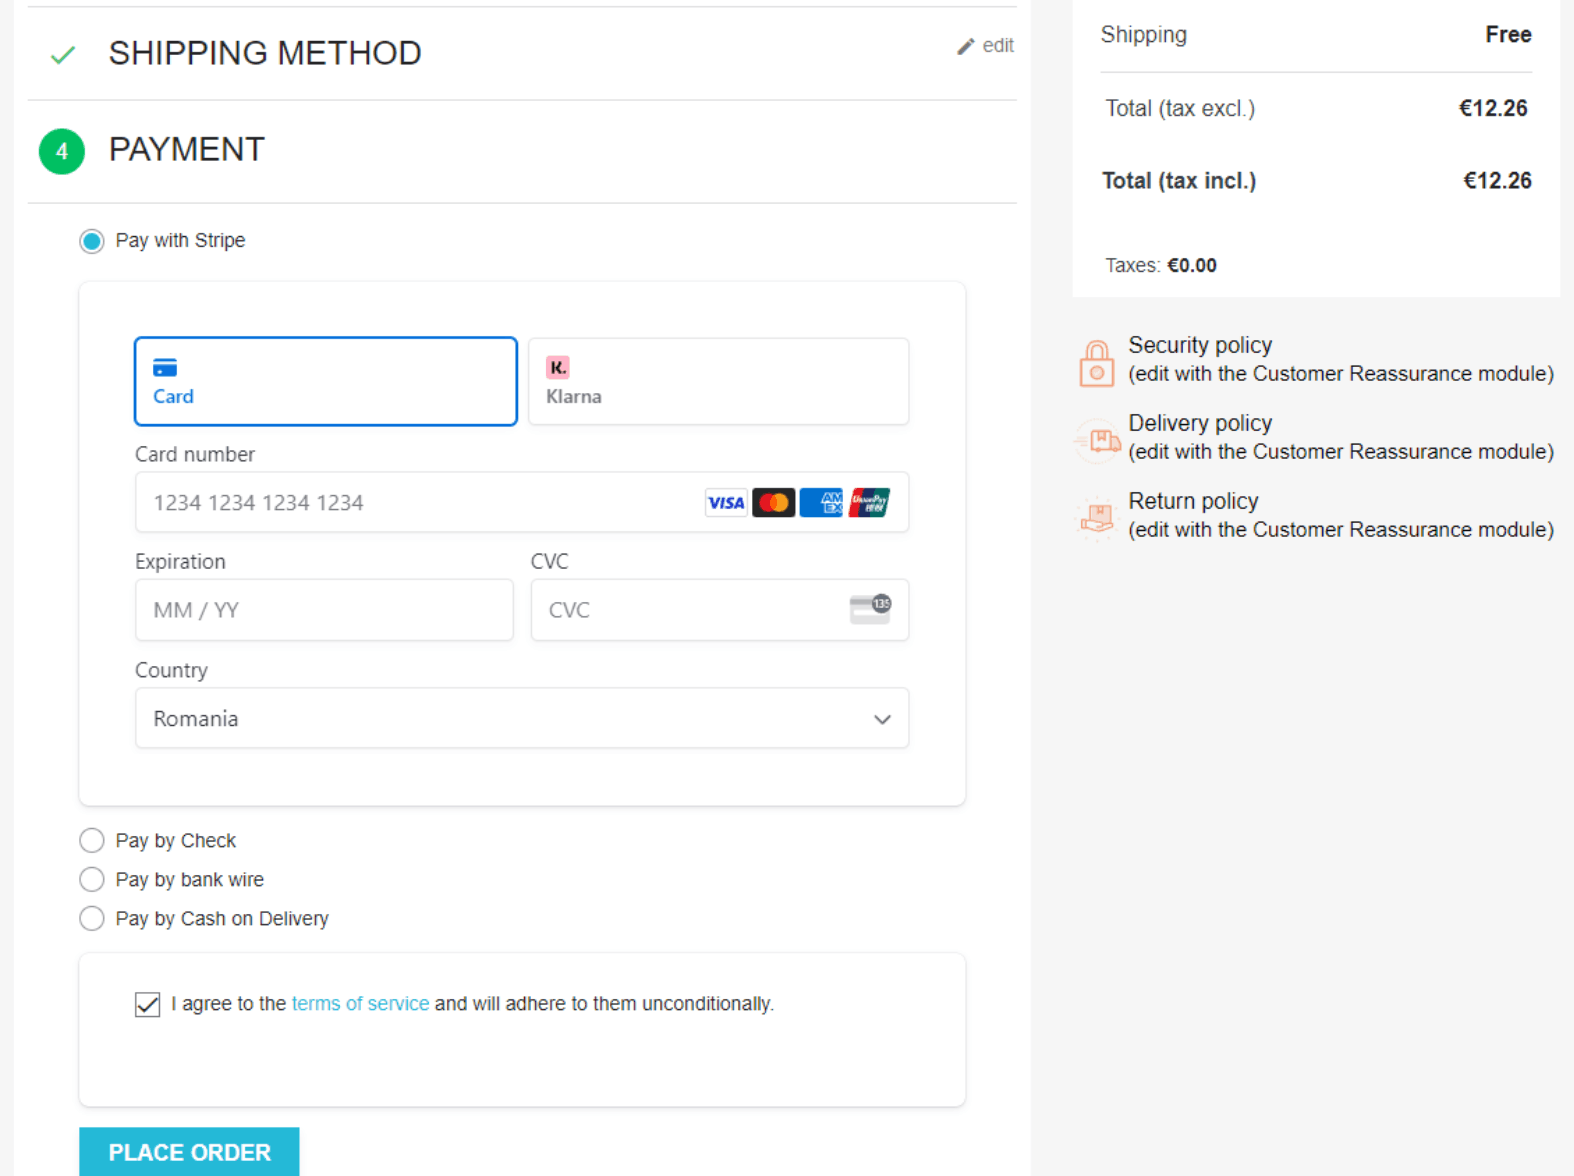
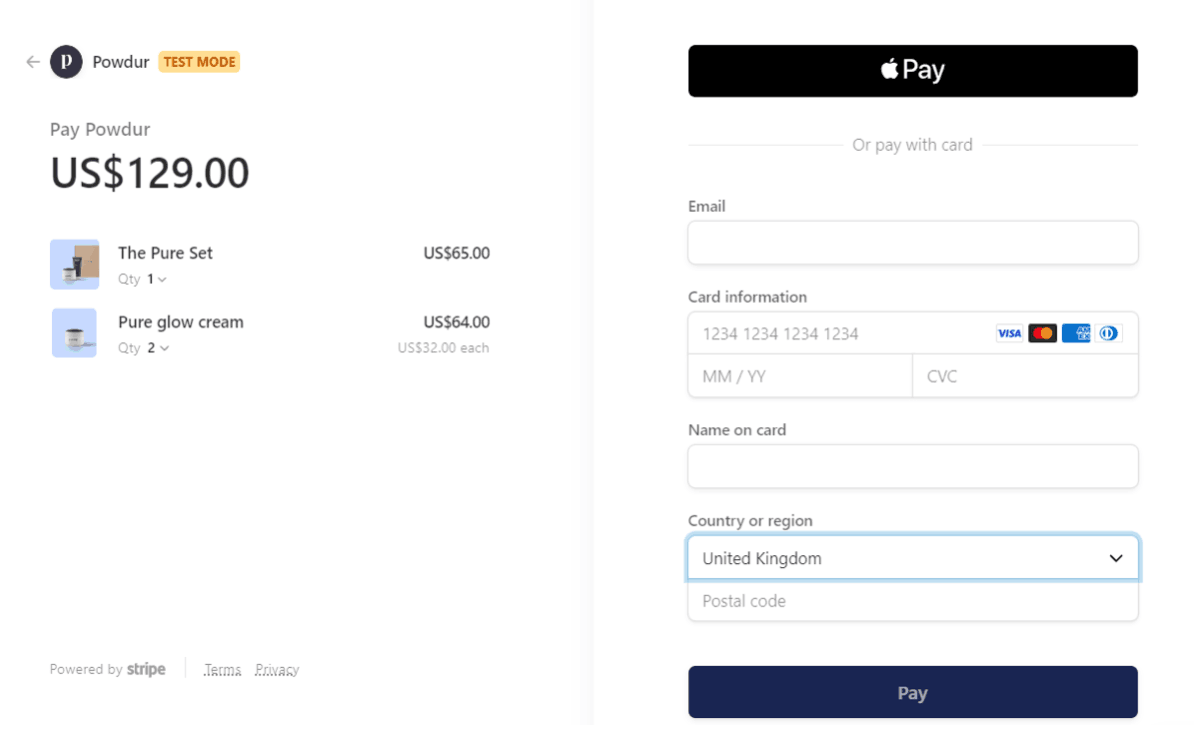
- Redirect to Stripe–Stripe Checkout lets you redirect your customers to a Stripe-hosted, customizable checkout page to finalize payment.
Customize the payment form
You can customize the appearance of the integrated payment form. Under Select a theme for the integrated payment form, choose one of the following: Stripe, Night, Flat, or None.
Collect your customer’s postal code
You can specify whether or not to collect your customer’s postal code at checkout using the Never collect the postal code field. Stripe recommends collecting and verifying postal code information, which can help decrease the card decline rate.
(Recommended) Unselect this field if you want to require a postal code at checkout. This applies to cards issued in Canada, the United Kingdom, or the United States.
Select this field if you don’t want to collect a postal code at checkout.
Choose how to capture funds
You can specify how you want to authorize and capture funds using the Enable separate authorization and capture field.
Unselect this field to use simultaneous authorization and capture. The issuing bank confirms that the cardholder can pay, and then transfers the funds automatically after confirmation.
Select this field to use separate authorization and capture. The authorization occurs first, and the capture occurs later.
You can usually authorize a charge within a 7-day window.
To capture funds, do either of the following:
In the PrestaShop dashboard, change the order’s payment status from
Authorizedto the status you specify in the Catch status field. For example, you can useShippedas the catch status. The capture occurs automatically when the status changes.If the capture is unsuccessful, the status changes to the specified value in the Transition to the following order status if the authorization expires before being captured field.
In the Stripe Dashboard, under Payments, select All payments. On the Uncaptured tab, select the order and then click Capture.
Refunds
To refund a payment, you need the Stripe Payment ID for the order.
In the PrestaShop dashboard, under Orders, select Orders.
Find the order you want to refund and copy the Payment ID under Stripe.
To initiate a full or partial refund, do the following:
Go to the Refund tab on the Stripe payment module.
In the Stripe Payment ID field, paste the payment ID.
Select Full refund or Partial refund. If you want to initiate a partial refund, you must provide the amount to refund.
Click Request Refund.