Add funds to your platform balance
Platforms can add funds to their Stripe balance to pay connected accounts for goods or services. There are a number of different use cases for adding funds to pay connected accounts for goods or services, including:
- Paying bonuses or other one-off payouts, independent of specific charges.
- Providing customer discounts while still paying full price for goods or services to sellers.
- Adding funds from non-Stripe income (for example, checks or funds from another processor).
- Enabling faster payouts (for example, pay a vendor before incoming funds become available).
Where permitted, Platforms can also add funds to their Stripe balance to send funds to recipients off of Stripe (for example, via cross-border payouts). They can also pay out added funds to other accounts they own.
Requirements
All of these requirements must be met to add funds to your Stripe balance:
- Your platform is in the US and the connected account receiving the funds either is in the US or has a recipient service agreement.
- Your platform profile is approved. You can check the status in your settings after completing the platform profile.
When adding funds to your balance, best practice is to use a manual payout schedule. If you enable automatic payouts, you can’t control whether the system uses added funds for payouts. You can configure your schedule in your payout settings.
Note
Only team members with administrator access to the platform Stripe account and who’ve enabled two factor authentication can add funds.
If you’re new to Connect, start with a guide to add funds to your platform balance and pay out money.
Confirm funding purpose
To add funds, go to the Balance section in the Dashboard.

Click Add to balance and select why you are adding funds to your account.
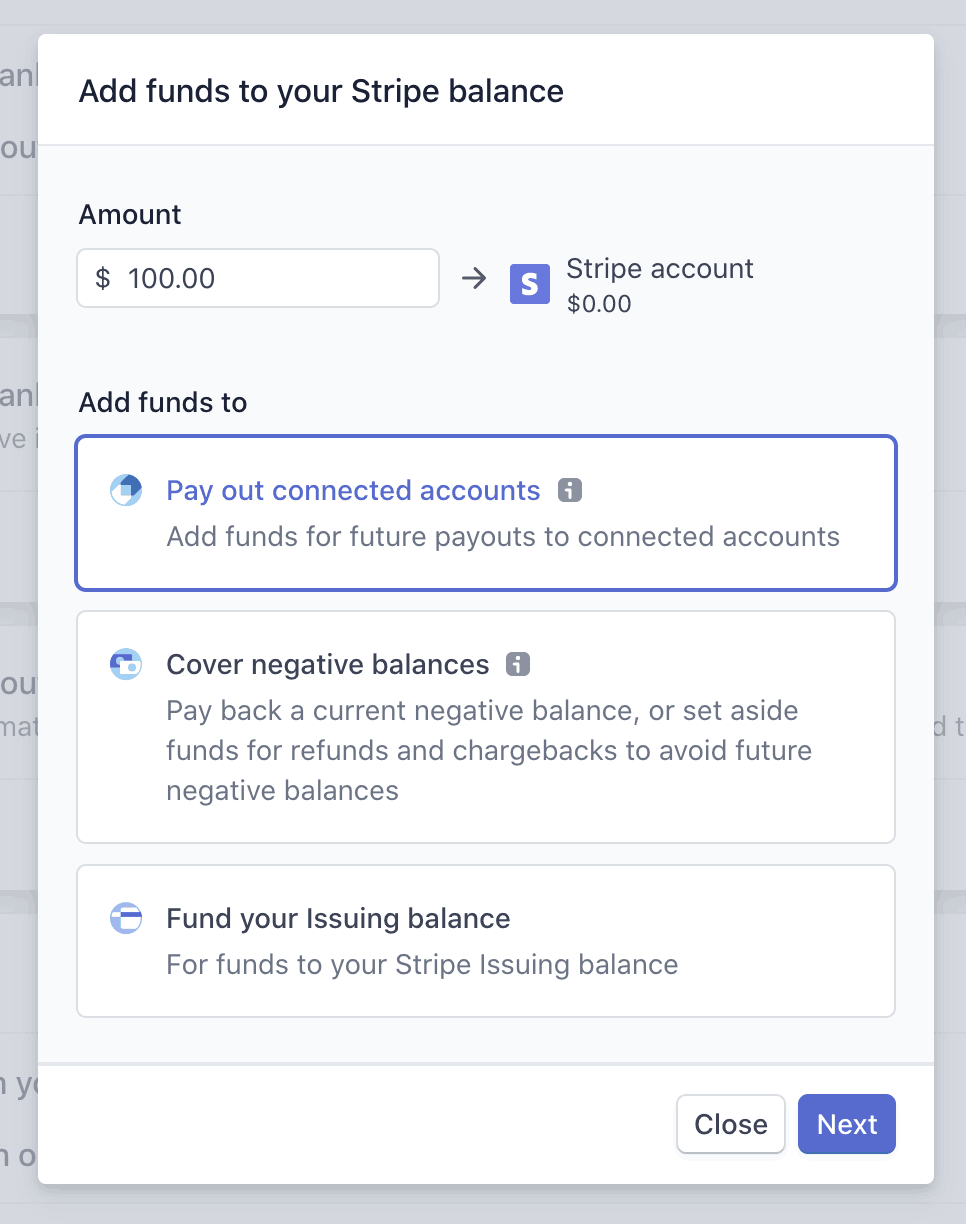
Click Pay out connected accounts to add funds that are paid out to your connected accounts. If you are adding funds to your balance to cover future refunds and disputes, or to repay your platform’s negative balance, click Cover negative balances and see adding funds to your Stripe balance.
Verify your bank account
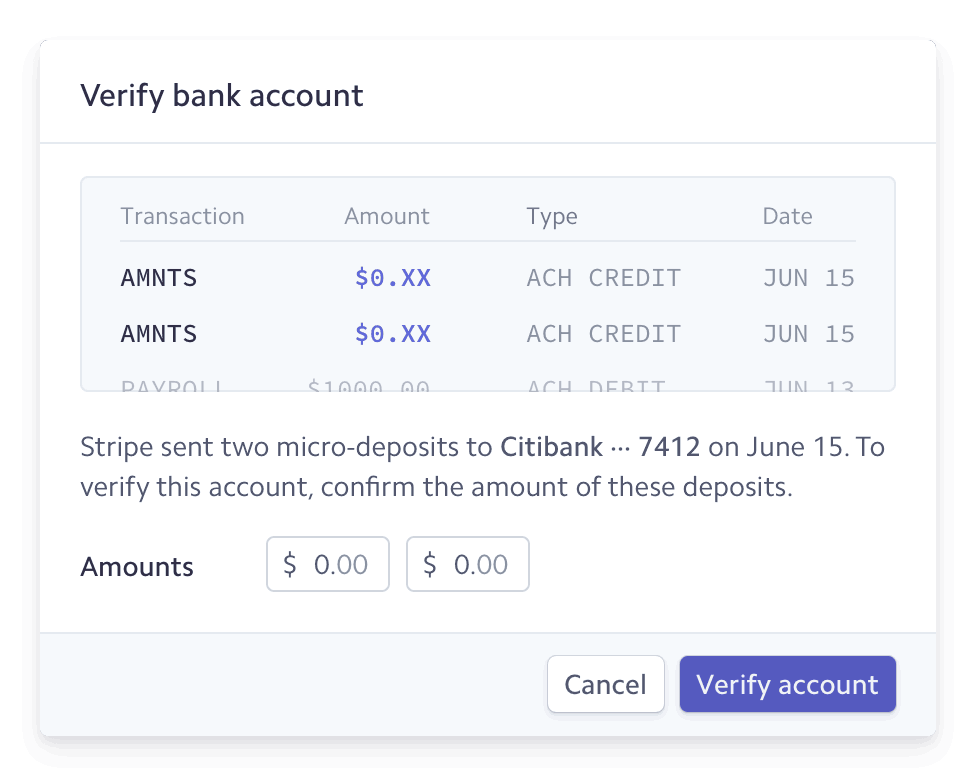
You must use a verified bank account to add funds. You’ll go through the verification process in the Dashboard when you first attempt to add funds from an unverified bank account.
If your bank account is unverified, you’ll need to confirm two microdeposits from Stripe. These deposits appear on your online banking statement within 1-2 business days. You’ll see ACCTVERIFY for the statement description.
Stripe notifies you in the Dashboard and through email when the microdeposits should have arrived in your account. To complete the verification process, click the Dashboard notification in the Balance section, enter the two microdeposit amounts, and click Verify account.

View your funds
View your added funds in the Dashboard on Top-ups tab under the Balance page. Each time you add funds, a top-up object is made that has a unique ID with the format tu_XXXXXX, which you can see on the detailed view for the top-up.
Settlement timing
US platforms add funds via ACH debit, and can take 5-6 business days to become available in your Stripe balance. You can request a review of your account for faster settlement timing by contacting Stripe Support.
As we learn more about your account, Stripe might be able to decrease your settlement timing automatically.
Adding funds for future refunds and disputes or to repay a negative balance can happen through bank or wire transfer, and be available in 1-2 business days.
Testing
You can use the Dashboard or the API to test adding funds to your balance.