Using OAuth with Express accountsDeprecated
Use the OAuth connection flow to allow an Express user to connect to your platform.
Caution
OAuth isn’t available for new Connect platforms. For new accounts, use Accounts API with Express instead. Extensions shouldn’t use Express OAuth, as extensions can’t connect to existing Express accounts. If you need access to OAuth for Express accounts, please contact support.
The OAuth connection flow 
A user connects to your platform using the following OAuth connection flow:
- On a page on your site, you provide a link that redirects your user to Stripe, passing along your platform’s
client_.id - On Stripe’s website, the user provides the necessary information for connecting to your platform.
- Stripe redirects the user to your site, along with an authorization code.
- Your site then makes a request to Stripe’s OAuth token endpoint to complete the connection and fetch the user’s account ID.
After these steps are complete, you can make API requests for the user with their account ID.
Step 1: You provide the OAuth link
To start your integration, go to your platform settings and:
- Enable onboarding Express accounts with OAuth in the OAuth settings.
- Copy your
client_, a unique identifier for your platform that’s generated by Stripe.id - Set your
redirect_, the URL that your user is redirected to after connecting their account. You must specify all redirect URLs in your platform settings. If you don’t include theuri redirect_parameter in your request, Stripe defaults to using the first address you’ve configured in your platform settings.uri
Stripe also provides a development client_ to help with testing.
With these two pieces of information in hand, you’re ready to create the OAuth link. We recommend showing a Connect button that sends users to our Express OAuth endpoint:
To prevent CSRF attacks, add the state parameter with the value set to a unique token. Stripe includes this state value in the redirect URL that sends the user back to your site. Then, confirm that this state parameter has the same value you originally provided.
Here’s how you can present the example URL, along with our Connect with Stripe button:
Connect withCustomize Express with OAuth parameters
You can change the behavior of the Express onboarding flow by including additional URL parameters in your OAuth link. A complete list of available parameters is available in the OAuth reference.
Individual or company accounts
You can specify whether Stripe presents an Express onboarding form for individuals or companies by setting the stripe_ parameter to either individual or company.
Stripe collects the right information for each type of account. For example, to onboard a company:
Prefill form fields
You can prefill some form fields on the user’s Stripe application by including the relevant URL parameters in your OAuth link.
This example prefills the user’s email address with stripe_:
Specify capabilities for an account
You can change the capabilities for new connected accounts in the Dashboard settings for Express. However, if you want to request different capabilities for each of your connected accounts, you can include the suggested_ parameter in your OAuth link and override the Dashboard settings on the Express Configuration page.
An example with the transfers capability:
Stripe adds the suggested capability to this Express account, unless one of the following conditions is met:
- If the user is in a country that doesn’t support
transfers, Stripe attempts to designate the account ascard_.payments - If the user’s account doesn’t support
transfersorcard_, Stripe marks the account as having no capabilities.payments
You can verify that Stripe added the suggested capability by using the assert_ parameter. This step is optional.
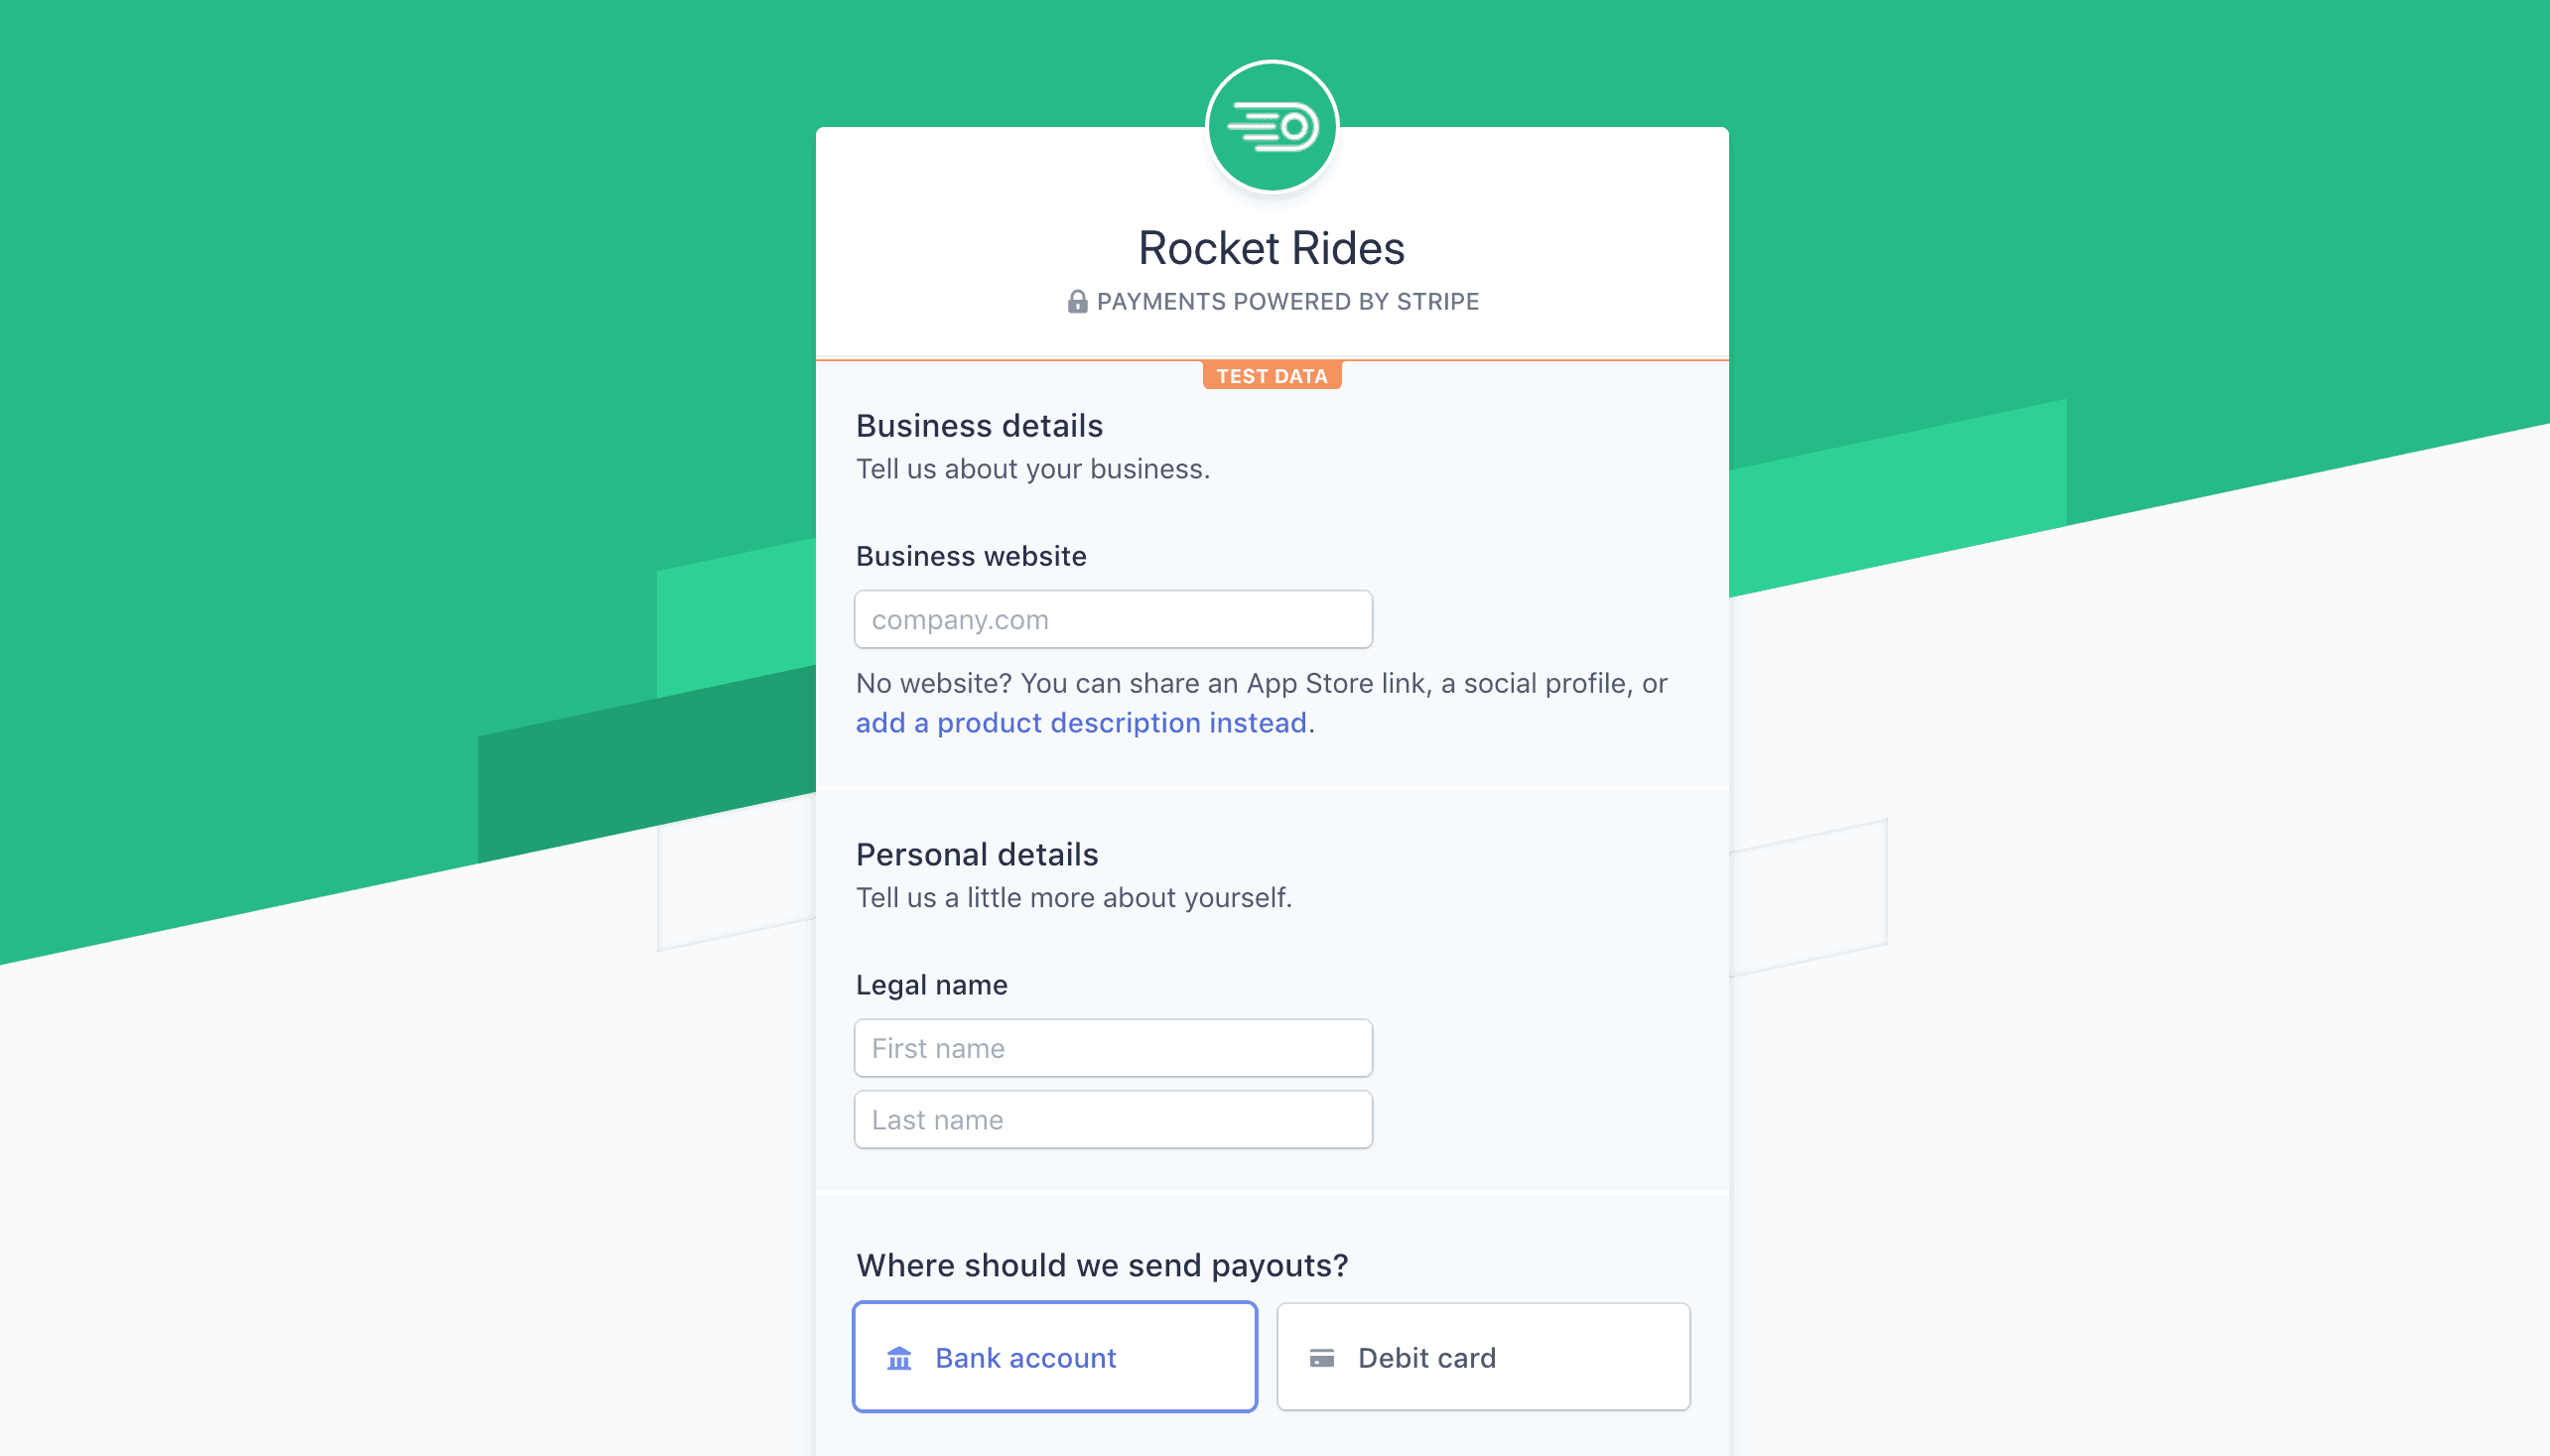
Step 2: The user creates their account
When the user clicks the link on your site, it takes them to Stripe’s website, which prompts them to provide contact and payout information.
To test the onboarding process, you can provide (000) 000-0000 as a phone number. Instead of sending you an SMS message or email, Stripe lets you complete verification with the code 000-000.
Express displays your branding in the onboarding flow and the Express Dashboard. You can provide your platform name, logo, and optional brand color in the Connect settings section of the Stripe Dashboard.
Step 3: Stripe redirects the user to your site
After the user completes the onboarding process, Stripe redirects them back to your site using the URL defined as your platform’s redirect_.
For successful connections, the redirect URL includes the following values:
- The
statevalue, if provided. - An authorization code. The authorization code is short-lived, and can be used only once, in the POST request described in the next step.
Step 4: You complete the Express account connection
Include the provided authorization code in a POST request to Stripe’s token endpoint to complete the connection and fetch the user’s account ID:
Stripe returns a response that includes the account ID (stripe_) for the user:
{ "livemode": false, "token_type": "bearer", "stripe_user_id":, "scope": "express", ... }"{{CONNECTED_ACCOUNT_ID}}"
Or, if there’s a problem, Stripe returns a detailed error message:
{
  "error": "invalid_grant",
  "error_description": "Authorization code does not exist: {AUTHORIZATION_CODE}"
}
The user is now connected to your platform. The stripe_ is the Stripe account ID for the new account. Store this value in your database and use it to authenticate as the connected account by passing it into requests in the Stripe-Account header.
Note
Store stripe_, which is the account’s ID. Platforms need this value (beginning with acct_) to transfer funds, create charges, and perform requests on the user’s behalf.
Verify the account’s capability
If you provide the suggested_ parameter, you can add the assert_ parameter to verify that the connected account now has the suggested capabilities. For instance, you can check this if you’re concerned about URL security. This step is optional, however. Stripe handles any failure to apply a capability silently.
A success response then looks like this:
{ "livemode": false, "token_type": "bearer", "stripe_user_id":, "scope": "express", "capabilities": "transfers", ... }"{{CONNECTED_ACCOUNT_ID}}"
If the specified capabilities[] value doesn’t match, the error response looks like this:
{
  "error": "invalid_request",
  "error_description": "assert_capabilities expects capability: card_payments"
}
The most common reason for this request failure is that the specified capability isn’t available in your user’s country. A less likely reason is a bad actor changing the URL.
Webhooks
After you create an account, you can get all account change notifications delivered to your webhooks as account. events. You set your Connect webhook URL in your account settings. These events let you track the onboarding and verification status of connected accounts, which you can use to provide user support and display notices in your platform’s user interface. Alternatively, you can let Stripe take your users through the steps of the onboarding and verification process and handle any issues that arise.
If you created an account in a sandbox using either a test API key or client_, Stripe doesn’t send any emails while you build your Stripe integration (but we do when you’re live.)