Migrate subscriptions to Stripe Billing
Learn about migrating subscriptions from other sources to Stripe.
You can import existing subscriptions from third-party billing systems (such as Zuora, Recurly, Chargify, or Chargebee) into Stripe Billing. You can also migrate subscriptions from an in-house billing system or from a different Stripe account.
Use the Billing migration toolkit to migrate your subscriptions without writing code. Alternatively, you can use the Stripe APIs to import subscriptions with manual scripts.
Before you begin
You must know:
- Your current payment processor.
- Your current subscription provider.
- Your pricing model.
Getting started
Migration stages
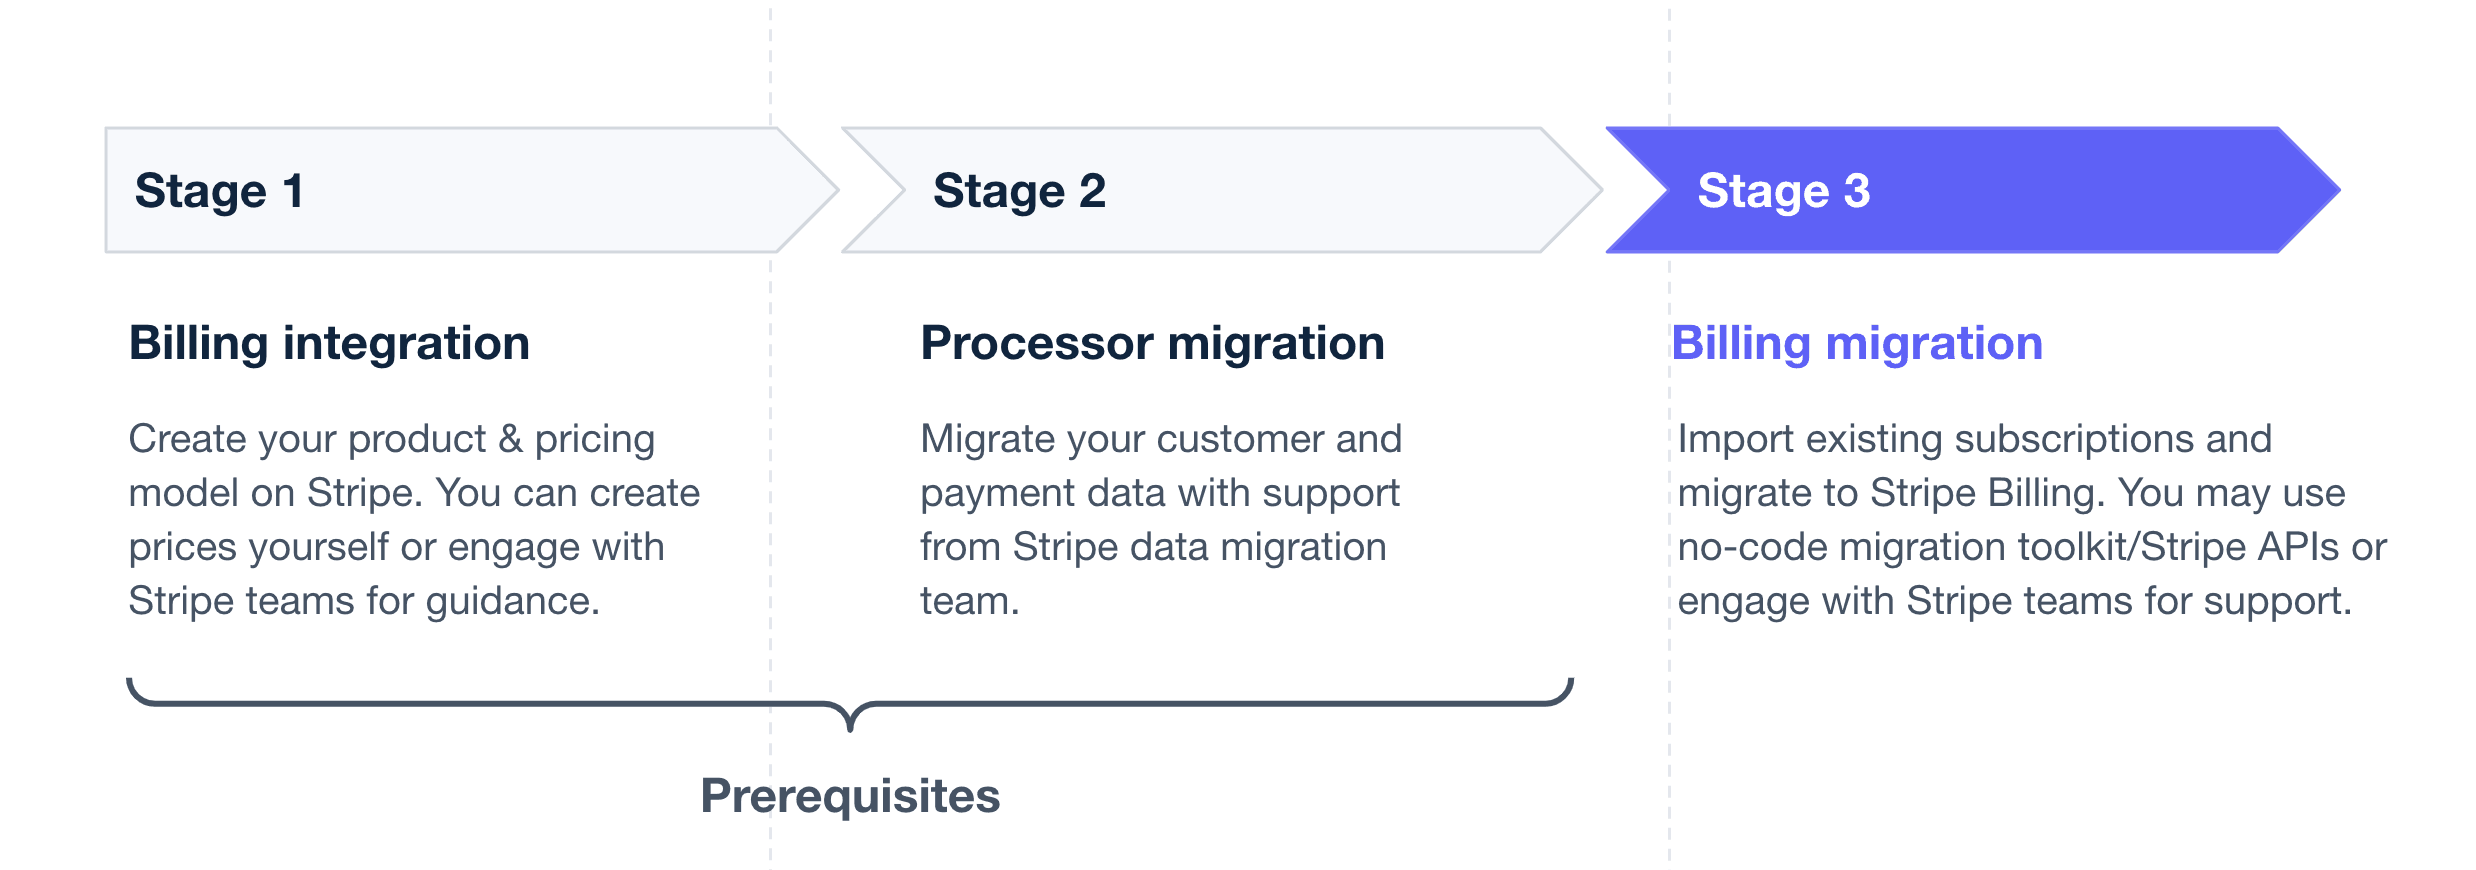
A typical migration process consists of the following stages:
- Set up your billing integration.
- Migrate your customer and payment processor information.
- Import your subscriptions to Stripe Billing.
Migration decision matrix
The migration process varies slightly depending on a few factors. Use the following decision matrix to understand the required steps for your situation.
| My customer and payment data is in an external system | My customer and payment data is already in Stripe | |
| Migrate subscription data from a third party | ||
| Migrate subscription data between Stripe accounts |